
J Crew fuzzy jumper, ASOS pleated midi skirt, ASOS sandals (they also come in black!), Karen Walker belt
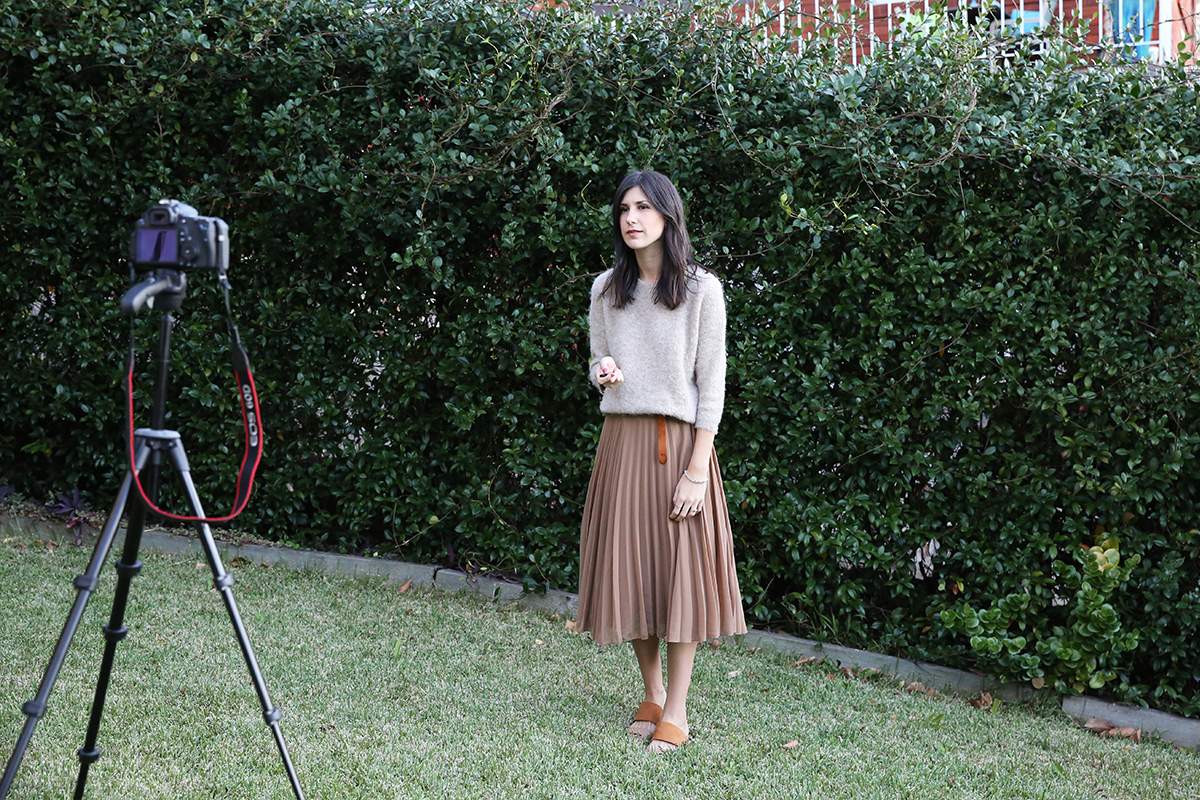
Today I wanted to share with you all one of my biggest (and hopefully best kept) secrets – tripod photography. It might come as a bit of a surprise (especially when I tell you that the photos from this post, this one, and this one were all taken using a remote and tripod), but not all of my outfit photos have been taken with the help of a friend or a family member. When I purchased my first DSLR – a Canon 550D – the Sales Assistant suggested I also buy a tripod, and while I didn’t think it would be something I would use, it was relatively inexpensive (compared to the camera) so I just went for it. Pretty early on, I discovered the ‘self-timer’ button, although I wasn’t always completely happy with the results. A lot of the time I was out of focus, and I’d have to take over 100 photos just to find a few that I liked. Once I discovered that I’d have a much better outcome using a remote, I promptly nabbed one off eBay (because what if it didn’t work out?) and began heavily relying on a remote and tripod to produce a lot, if not most of, my content.
That was a good six years ago now, and while I’m lucky enough to have a fiancé who supports my little place on the internet and takes the majority of my outfit snaps for me, it’s good to know that on the weekends when we’re a little stretched for time, I can take some photos on my own, which typically tend to turn out just as well.
For those of you just starting out with a blog, or for those of you who are stumped as to how to successfully produce sharp and interesting photos (okay, let’s be real, not all my photos are interesting but you get the gist!), then keep reading for my tips and tricks for tripod and remote photography, using a DSLR camera.
Make sure you have the essentials: It probably goes without saying, but you aren’t going to get far without a tripod or a remote. Ideally, I’d recommend getting a tripod which extends to approximately 130cm tall (or more, if it’s within your budget), that can hold a decent weight. I’m using a Canon 5D Mark III, and it can get pretty weighty pretty fast depending on which lens I’m using. I personally love Manfrotto tripods; they’re lightweight, and I recently picked one up that is a total game changer for me as it allows me to tip my lens downwards on a 90 degree angle so expect quite a few flat lays coming up.
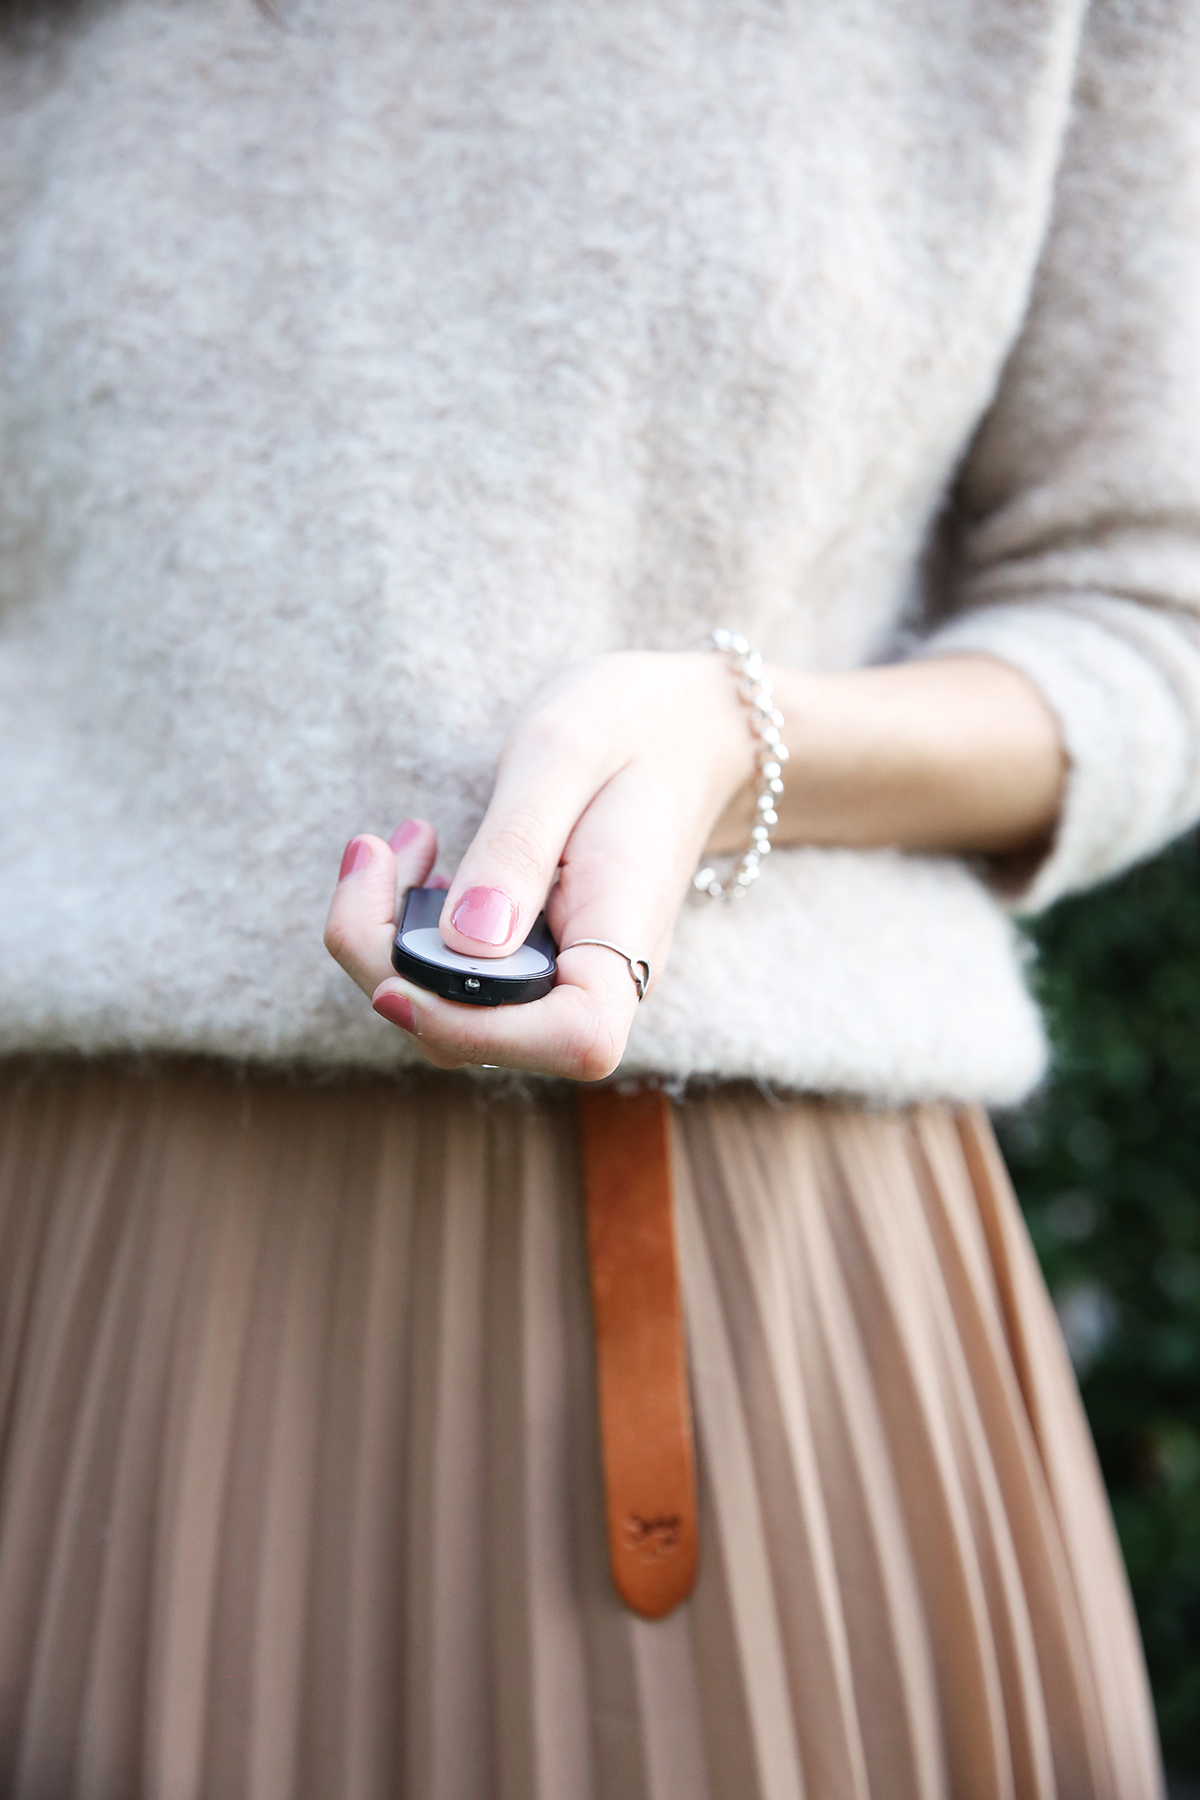
As for remotes, you can do what I did years ago and pick one up very inexpensively on ebay (just search your camera brand and the word ‘remote’) for less than $5, or you can pick one up at your local camera store. Mine is still going strong five years on and I think if you’re serious about tripod photography, it’s probably best to invest a few more dollars from your pocket for one of better quality.
Find a quiet or secluded location to take your photos: There is nothing more distracting (or embarrassing, depending on which way you look at it) than having onlookers watching you or asking you questions when you’re trying to snap a few photos for your blog. I get quite stiff if I know there’s a stranger staring at what I’m doing and tend to feel much more natural in front of a camera and tripod setup when I’m alone. If you’ve got a location in mind and are confident enough to take snaps when there are people walking past, it’s helpful to have a quick one-liner that ‘explains’ what you’re doing. In the past, I’ve told passers-by that I’m working on a self-portrait for a university class, although you could quite easily change that to ‘photography’ class. You might not think this is important – but trust me, I’ve had so many awkward moments when I’ve said what they’re actually for (the most awkward of which was when a passerby offered to take photos for me!).
While I was still living in Wellington, I used to take advantage of the early mornings or late afternoons, nipping down to one of the few wharfs near my home, which I’d generally find empty. If not, there was always another coastal spot around the bend so I was usually quite spoilt for choice.
You might not be quite so lucky, so look for quiet lanes or leafy residential streets where there isn’t a lot of foot traffic – usually you might get the odd person walking by but are generally left to your own devices undisturbed. If you live in a busy city like me, this can be a tricky one, and two and a half years on, I’m still hunting out the perfect spot, but if you keep an open mind (and know your city well), there’s no doubting that you will find something that works for you.
The alternative is to consider taking photos inside your home if you have a nice airy space with a lot of natural light, or in your backyard (which can both be great options, especially if they are visually appealing ones!). As you may have guessed, I tend to take a lot of snaps by the hedge in our front yard as it’s a great option and is literally a stone’s throw from my front door.
Or, if you’re looking for something a little different, see if there are any wooded parklands near your home – these are a particularly perfect backdrop for any fall or winter outfit posts!
Setting your focus point:
One of the biggest benefits to using a remote when photographing yourself is that you’re going to be in focus 90% of the time. I say 90% of the time as occasionally – and only occasionally – your lens will automatically focus on something else, like a wooden plank of a fence of the leaves on a nearby tree. Which is why it is so important to take lots of photos, but more on that later.
You can choose to manually set your focus point to an object near where you are planning to stand (I’ll just note that there is a higher margin for error here, especially if you’re new to manual focusing!), although I personally prefer to leave it on an automatic focus. I set my camera’s focus setting to AI Focus, as I find that this helps to capture much more crisp snaps that when using AI Servo (which refocuses the lens just before the shutter closes, though in my experience has a higher margin for error), though I think it’s worth playing around with both focus settings to see which works best for you.
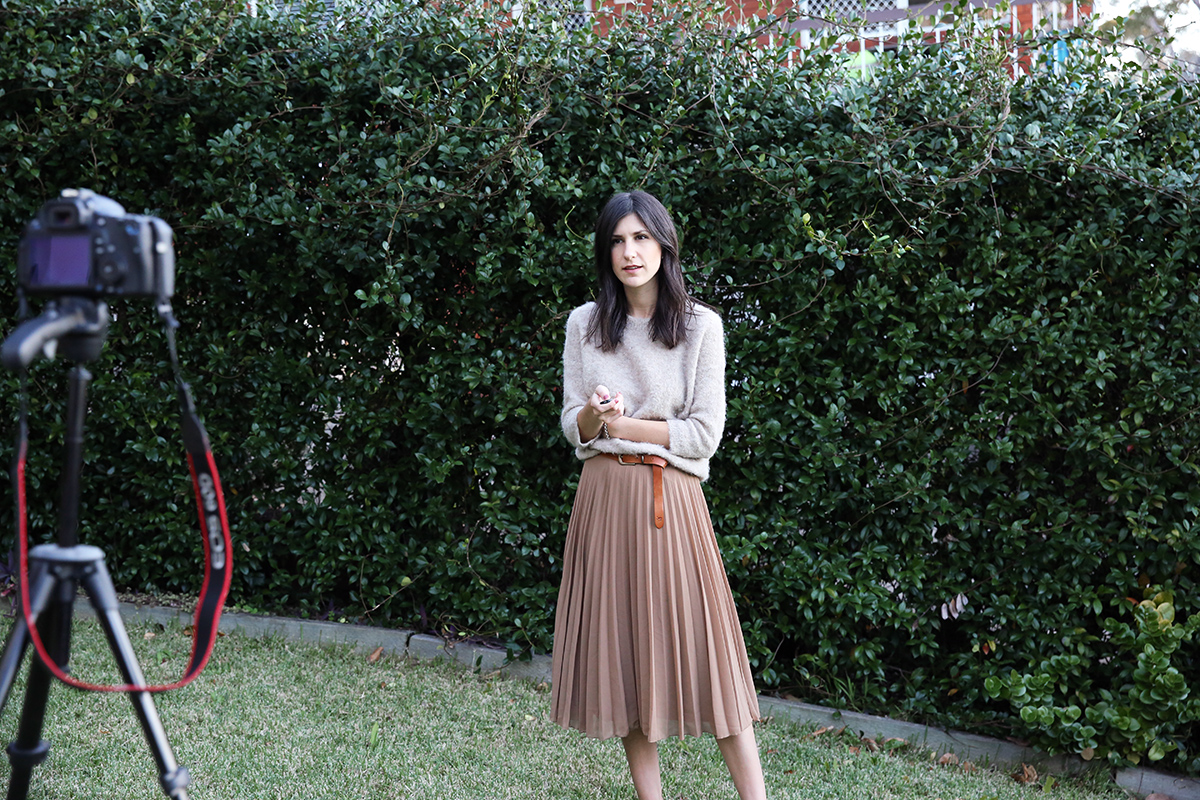
As I generally am front and centre in any photos I take, I choose to use evaluative metering, as this has been a winning combination for me when paired with the AI Focus setting.
The other thing that you can do, is ensure that the focus points are set to the centre of the frame (this should be the default setting anyway) and position yourself so that you’ll be the primary focus of the shot.
When pressing the button on the remote, ensure that you keep it close to your body as if you stretch your arm out it may alter the focus resulting in a slightly off-focus image. The last thing you want is to upload your snaps to your PC only to find that none of them are perfectly in focus. It’s happened to me a few times in the past and unfortunately no amount of the sharpen tool in Photoshop will fix that! As an example, if I’m taking a close up of my face, I’ll make sure to press the remote button as close to the level of my face as possible, ie. In line with where I want the camera to focus.
Take a LOT of photos
Taking a lot of photos should be a bit of a no-brainer, especially if you’ve only just begun using a tripod and remote to take photos. It gives you ample opportunity to snap a truly great photo, and ensure that you will have at least a few photos (if not a LOT) that you would be happy to choose. It’s a lot easier to narrow it down than to struggle to find anything worth posting at all.
As a general rule, I usually take approximately 50 photos when I’m using a remote and tripod, although you may need (or want) to take more if you’re planning on using a lot of different angles or styles of images. And as I mentioned earlier, you may find that some of your photos are slightly out of focus however if you get a bit snap happy, you’re more likely to come away with a suite of images that you can use.
Also, make sure you allocate enough time for your ‘shoot’; some days, 15 minutes might be enough but on others, you might need a bit longer so just bear that in mind!
Nailing that pose
Quite often, I’ll have some kind of pose in my head which I think will look great on camera, but in reality, it completely falls flat and just isn’t worthy of seeing the light of day. Over time, you’ll figure out which poses work best for you, and it you’re having a bad photo day, it helps to be able to have those to fall back on.
One thing that you’ll have to think about when holding a remote in your hand is how to keep it discreet or out of view of the camera. There are a few different ways that you can do this, the obvious of which is to just hide it in the palm of your hand. Alternatively, wrapping your hand around a bag strap, popping it in your pocket, or getting the remote carrying hand just out of shot all work. Be creative – it can feel totally unnatural at first but you get the hang of it pretty quickly.
Get creative
The world really is your oyster – you don’t just have to take a full outfit shot front on. Work around with angles or points of view (I often like a ‘from where I stand’ style snap of my shoes), and you’ll find that you can get some really interesting results.
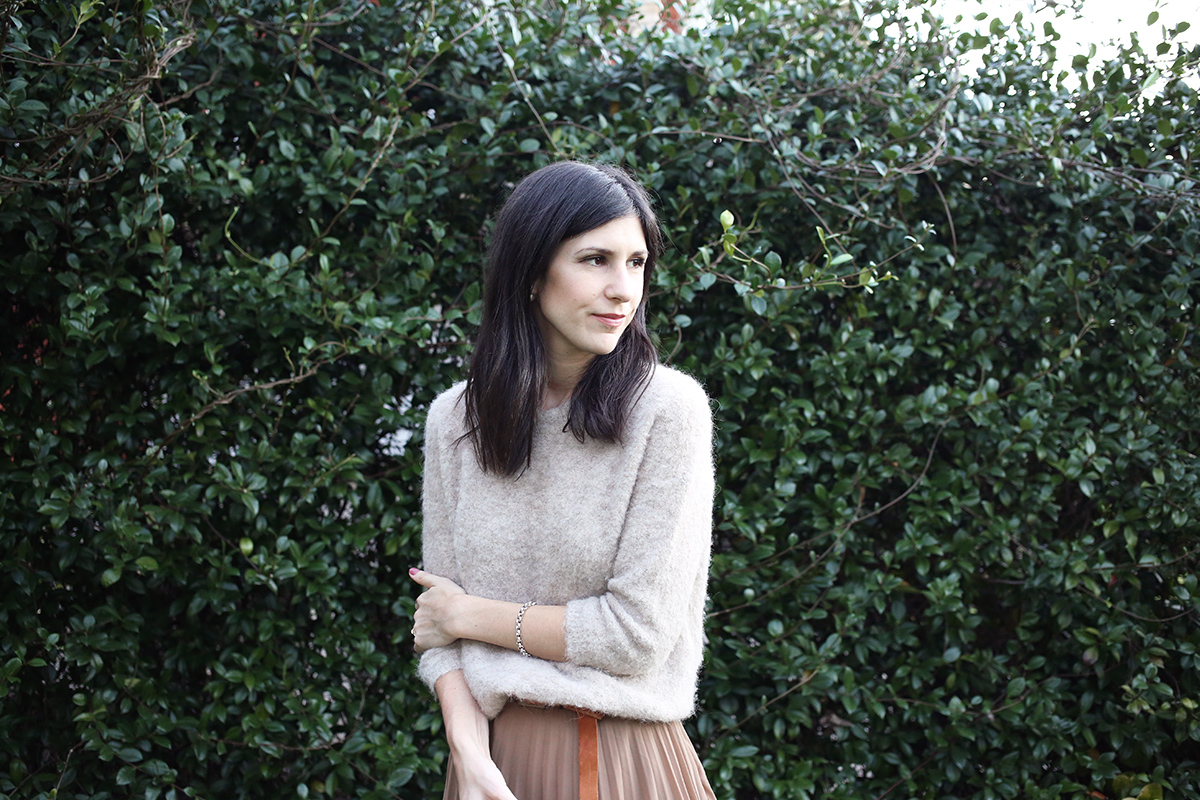
I often prefer to look away from the camera – mostly as I find that the photos turn out looking a lot more natural and un-posed (because let’s face it, that’s what you want to avoid!).
Experiment with movement, get some emotion on your face, and shoot a few detailed shots (because who doesn’t love seeing the details up close, like layered up rings or the quilting on a black skirt). Eventually, you’ll find your groove and the kinds of photos you like to take – but remember, to always, always, always think outside the square.
Finally, don’t give up!
Tripod/Remote photography might seem a little hard to get right straight of the bat, but trust me when I say that practice truly does make perfect. You will have days when nothing is turning out right and you just wish you hadn’t even bothered (yes, I’ve been there), but the more photos you take, the more intuitive it will become.
So there you have it! Those are my key tricks for successfully snapping ‘the shot’ when using a tripod and remote. For those of you thinking of experimenting with this type of photography, I hope that this has been useful – best of luck and happy snapping! x
Photos taken on a Canon 5D Mark III using a 50mm f/1.8 lens and a 24.70mm f/2.8 lens.


Yep, all my outfit posts used to be with my tripod and remote. But not as great of a camera as your Canon, although it was a Canon, just a point and shoot.
Now I’m lazy and only take photos when I go home and my Dad can take them (or a friend if they have 5 minutes before we go out) But at the start of my blog I hated when anyone (even my family) watched me take photos. I’ll probably end up using the trip again at some point, but for now its nice to be done in 5 minutes after doing my 5 or 6 shots, haha.
https://pbs.twimg.com/media/Civ8hSUXEAAMTuF.jpg:large
Author
But you post so many outfit photos (I’m terrible at commenting but I do see them all!) – do you have to take them in bulk then? x
Great tips! I also use a tripod which I bought on a flea market almost 10 years ago and I use my Canon remote app which allows me to shoot from my phone. I can see everything through the screen of my phone and change the settings from there. Best thing ever!
Author
That sounds amazing! Unfortunately one of the few functions my camera came without was wifi meaning I can’t do that unless I spend about $1000 for a wifi add on. I usually take a bunch of snaps then have to run around and see what I like/don’t like and adjust appropriately! 🙂