
One of the most exciting things about owning your own home, is being able to put your own stamp on it, and that’s exactly what Luke and I were looking forward to doing from day one when we finally stepped onto the property ladder earlier this year. Aside from some minor cosmetic changes of re-staining the floorboards and re-painting the entire house ourselves, our first priority was to re-do our bathroom, and today, I wanted to share our full bathroom renovation with you, now that it is finally complete.
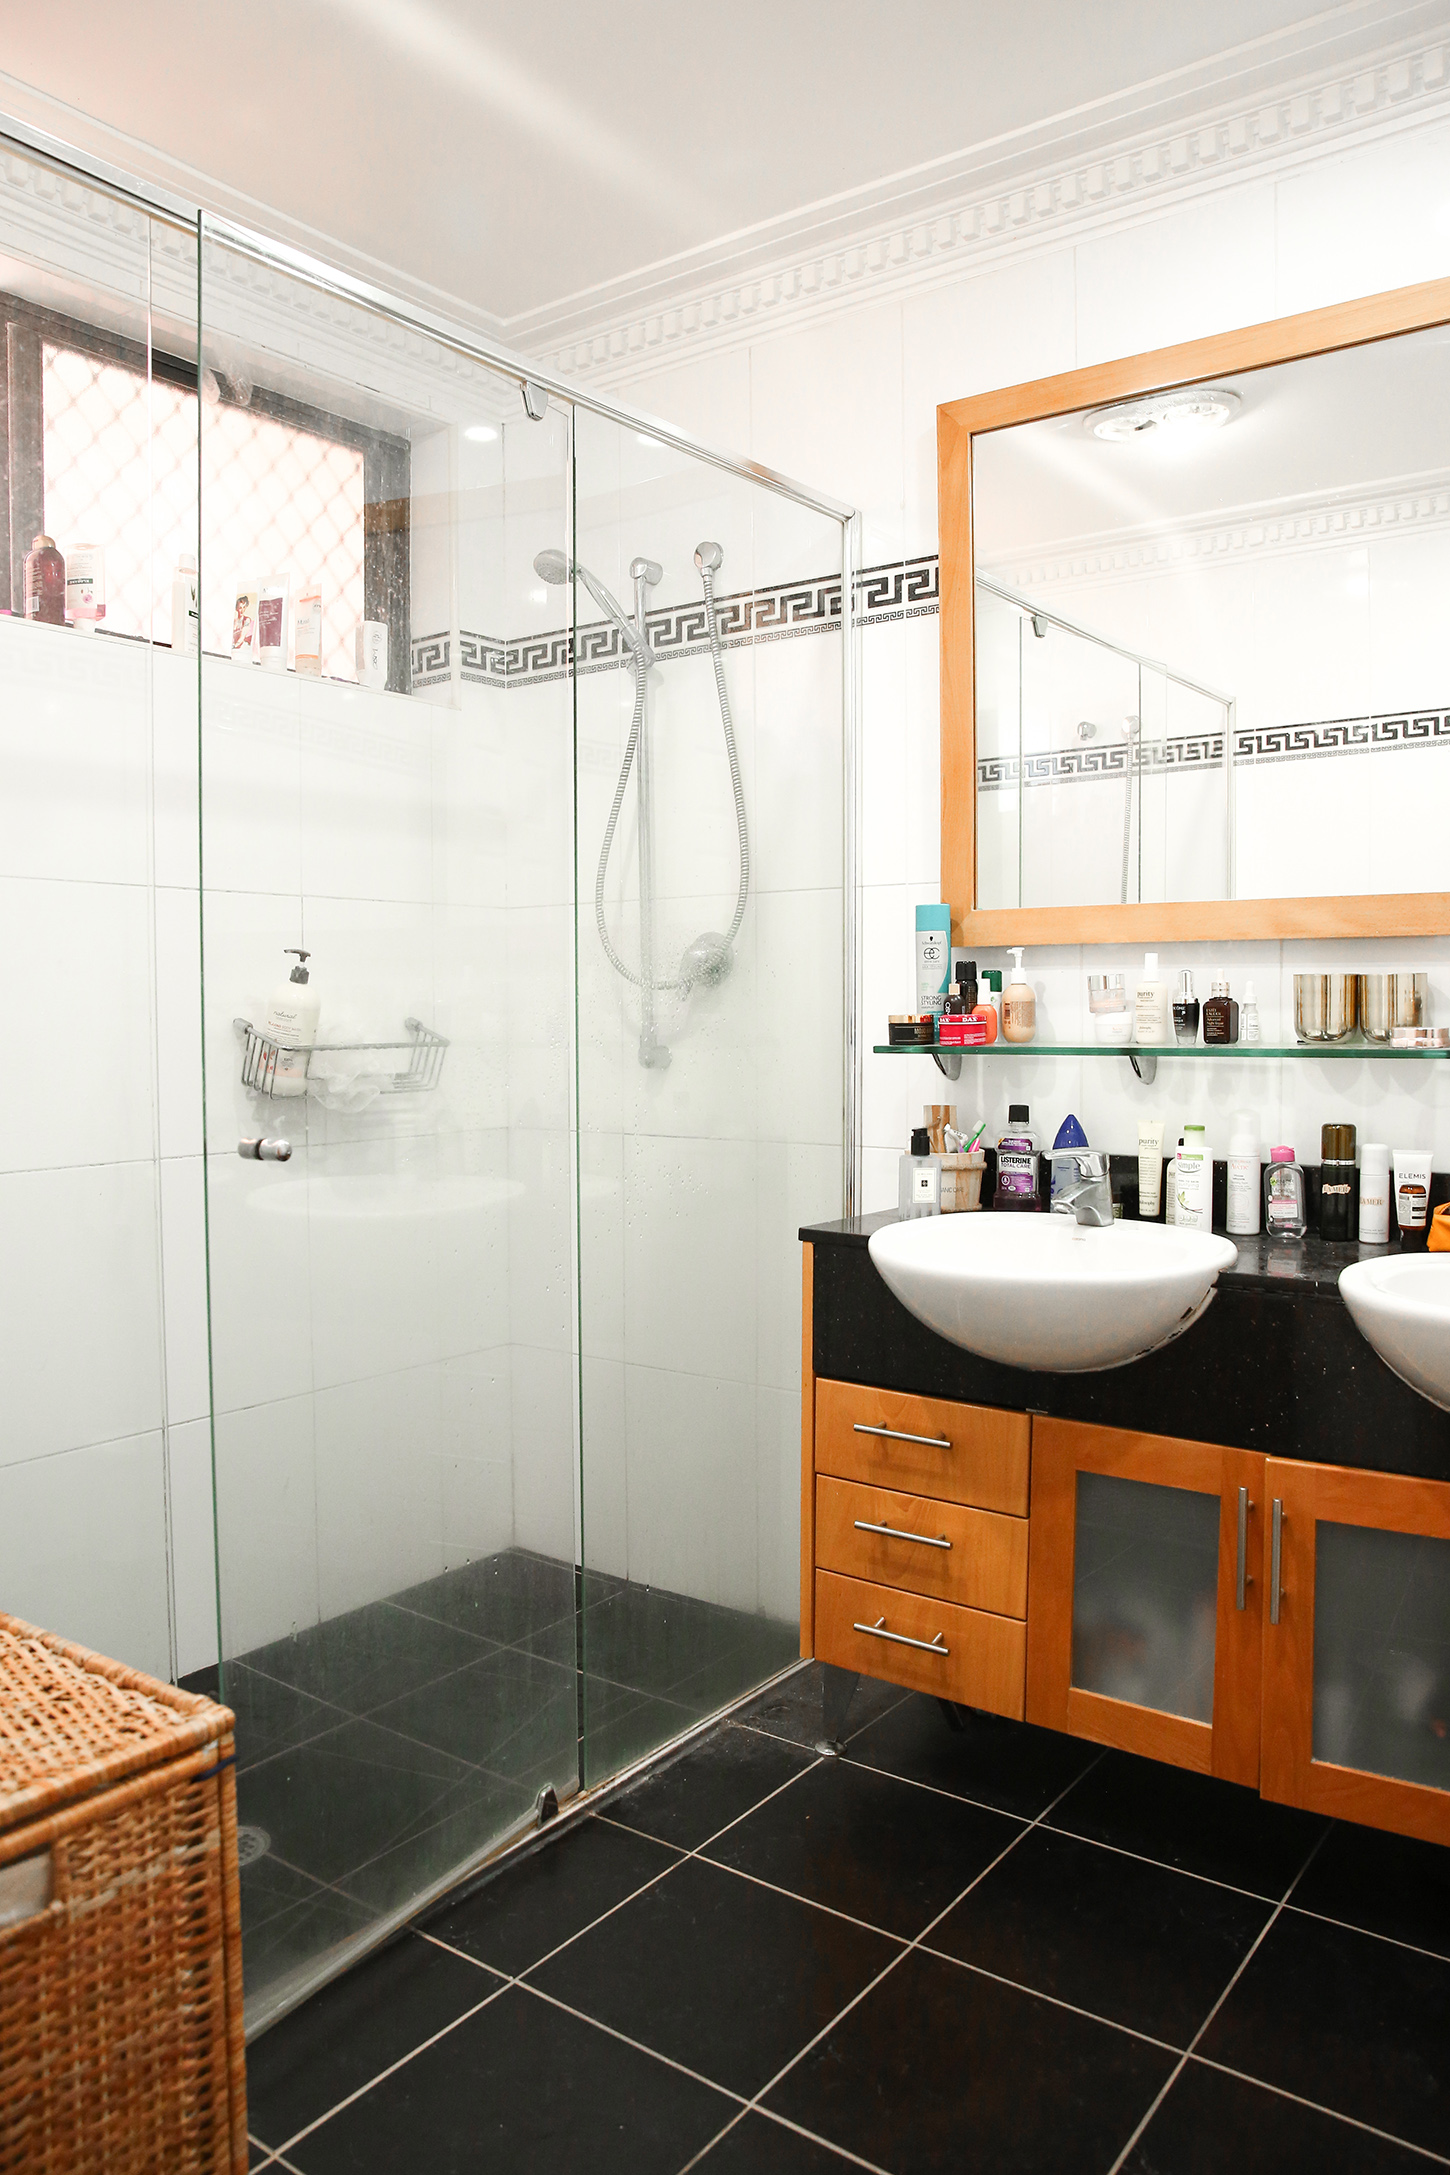
While the bathroom wasn’t necessarily to my taste, cosmetically, there wasn’t anything seriously wrong with it, however, the decision to re-do our bathroom straight off the mark was made for us; it wasn’t watertight. As you can imagine, the implications for this can be pretty serious over time as the water seeps into and rots the wooden framework, so we made it a huge priority to complete this renovation as soon as we had the money saved up. In terms of budgeting, I’d recommend having all your ducks in a row before engaging a contractor, and having a buffer of at least 10%, in the instance that there are unforeseen complications that come up once the project has begun.
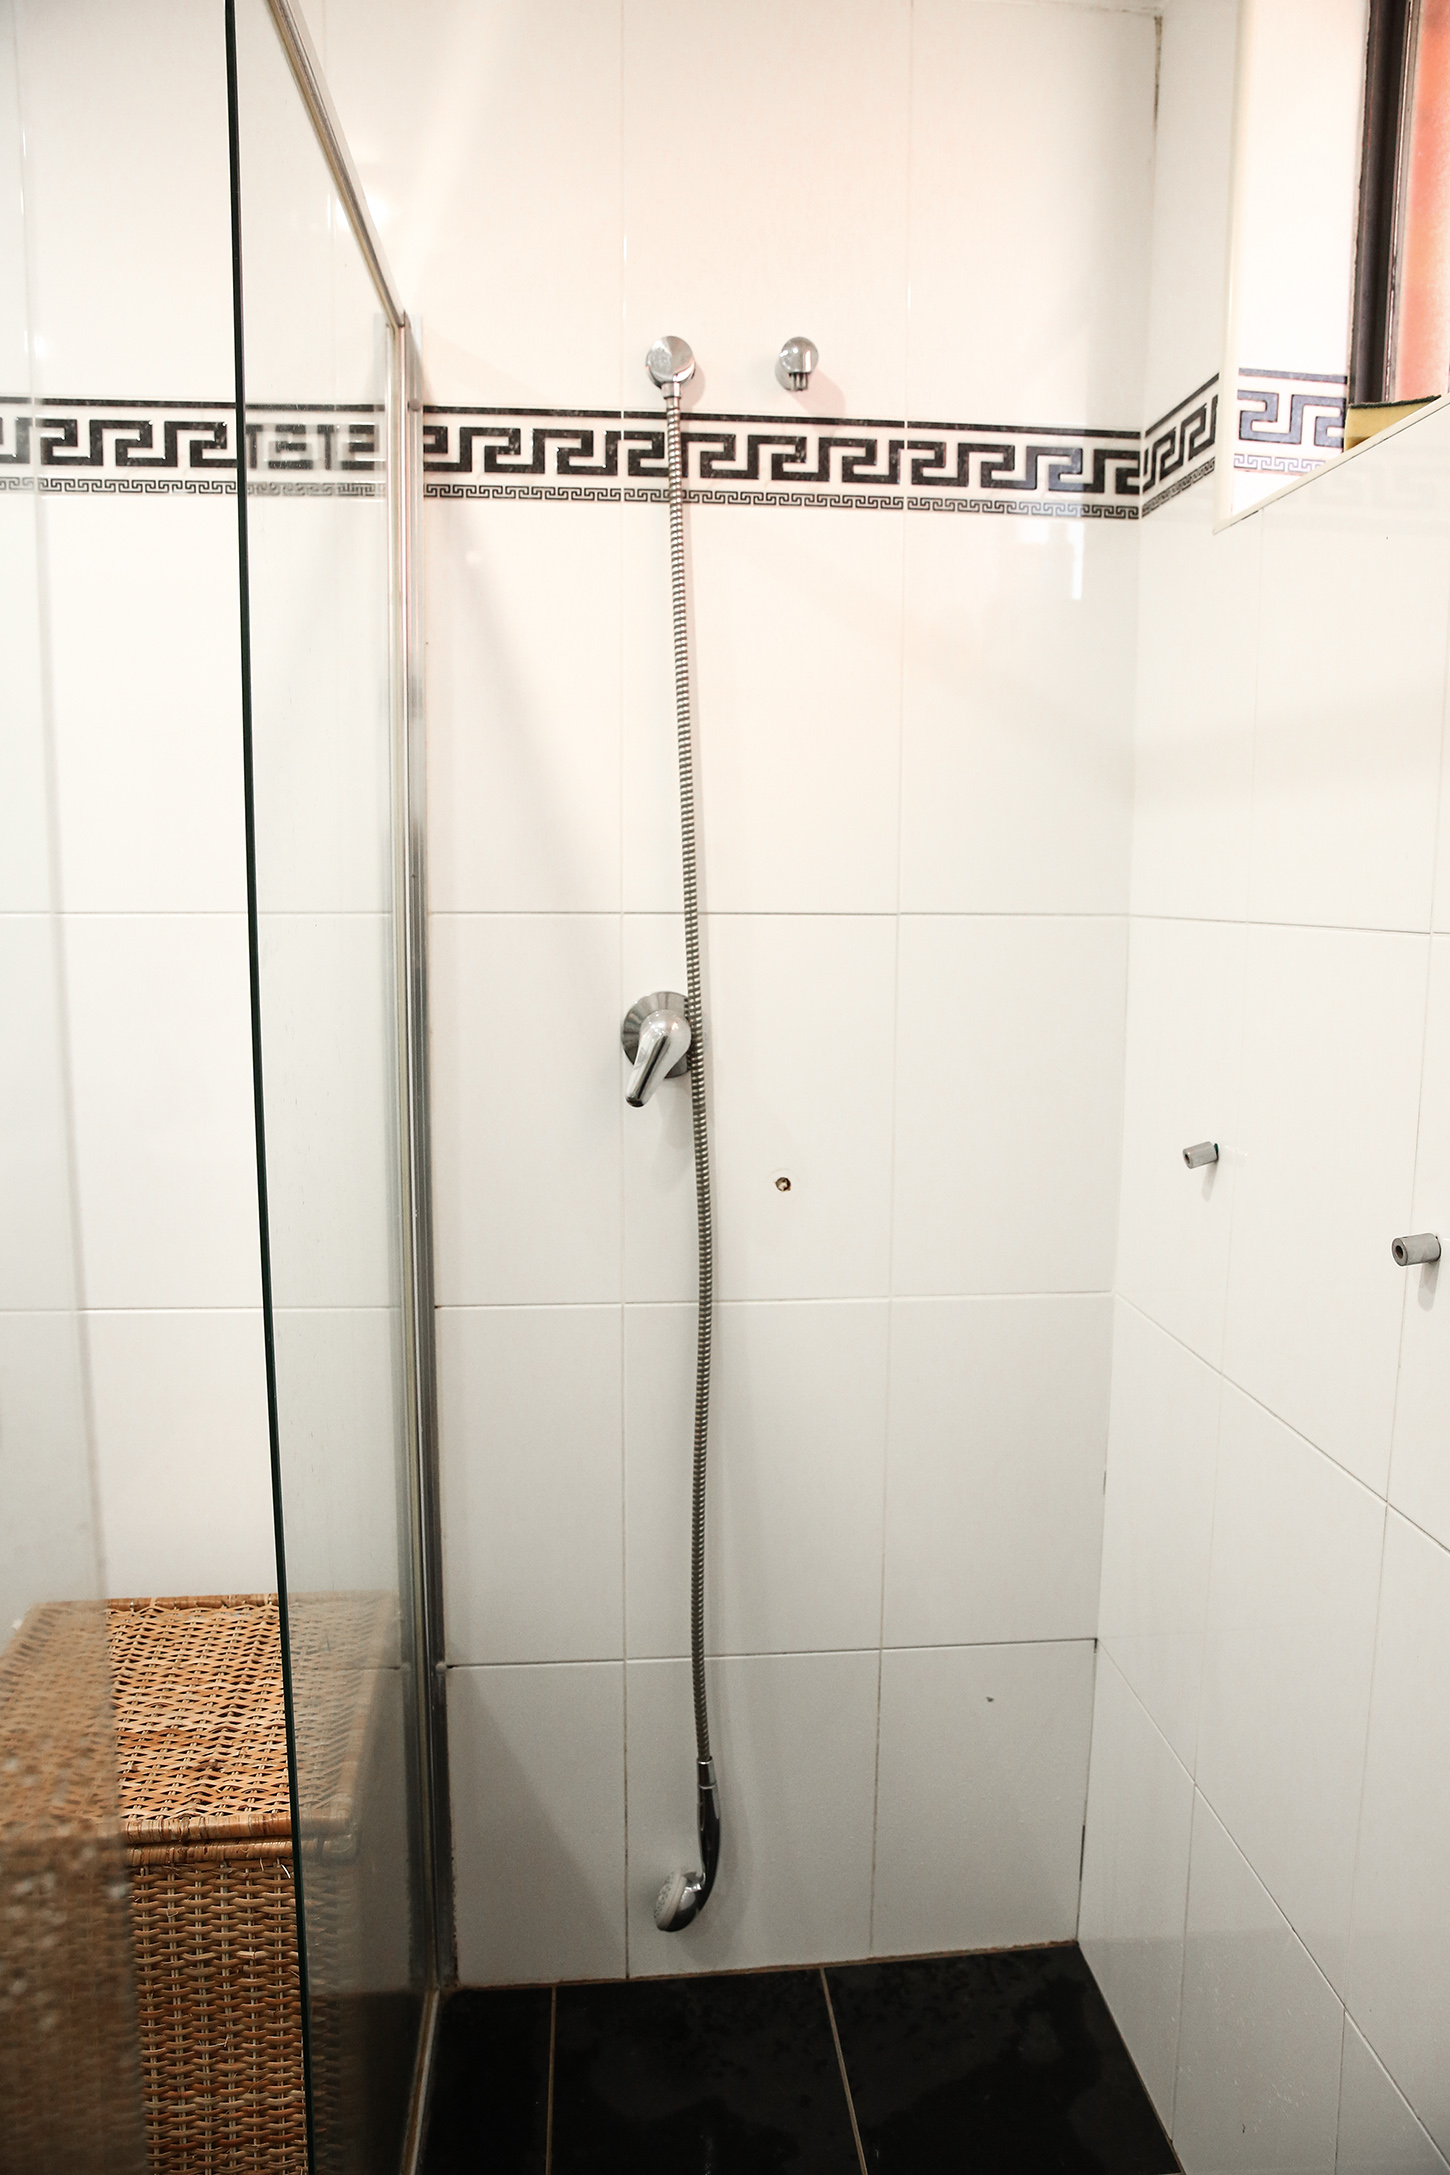
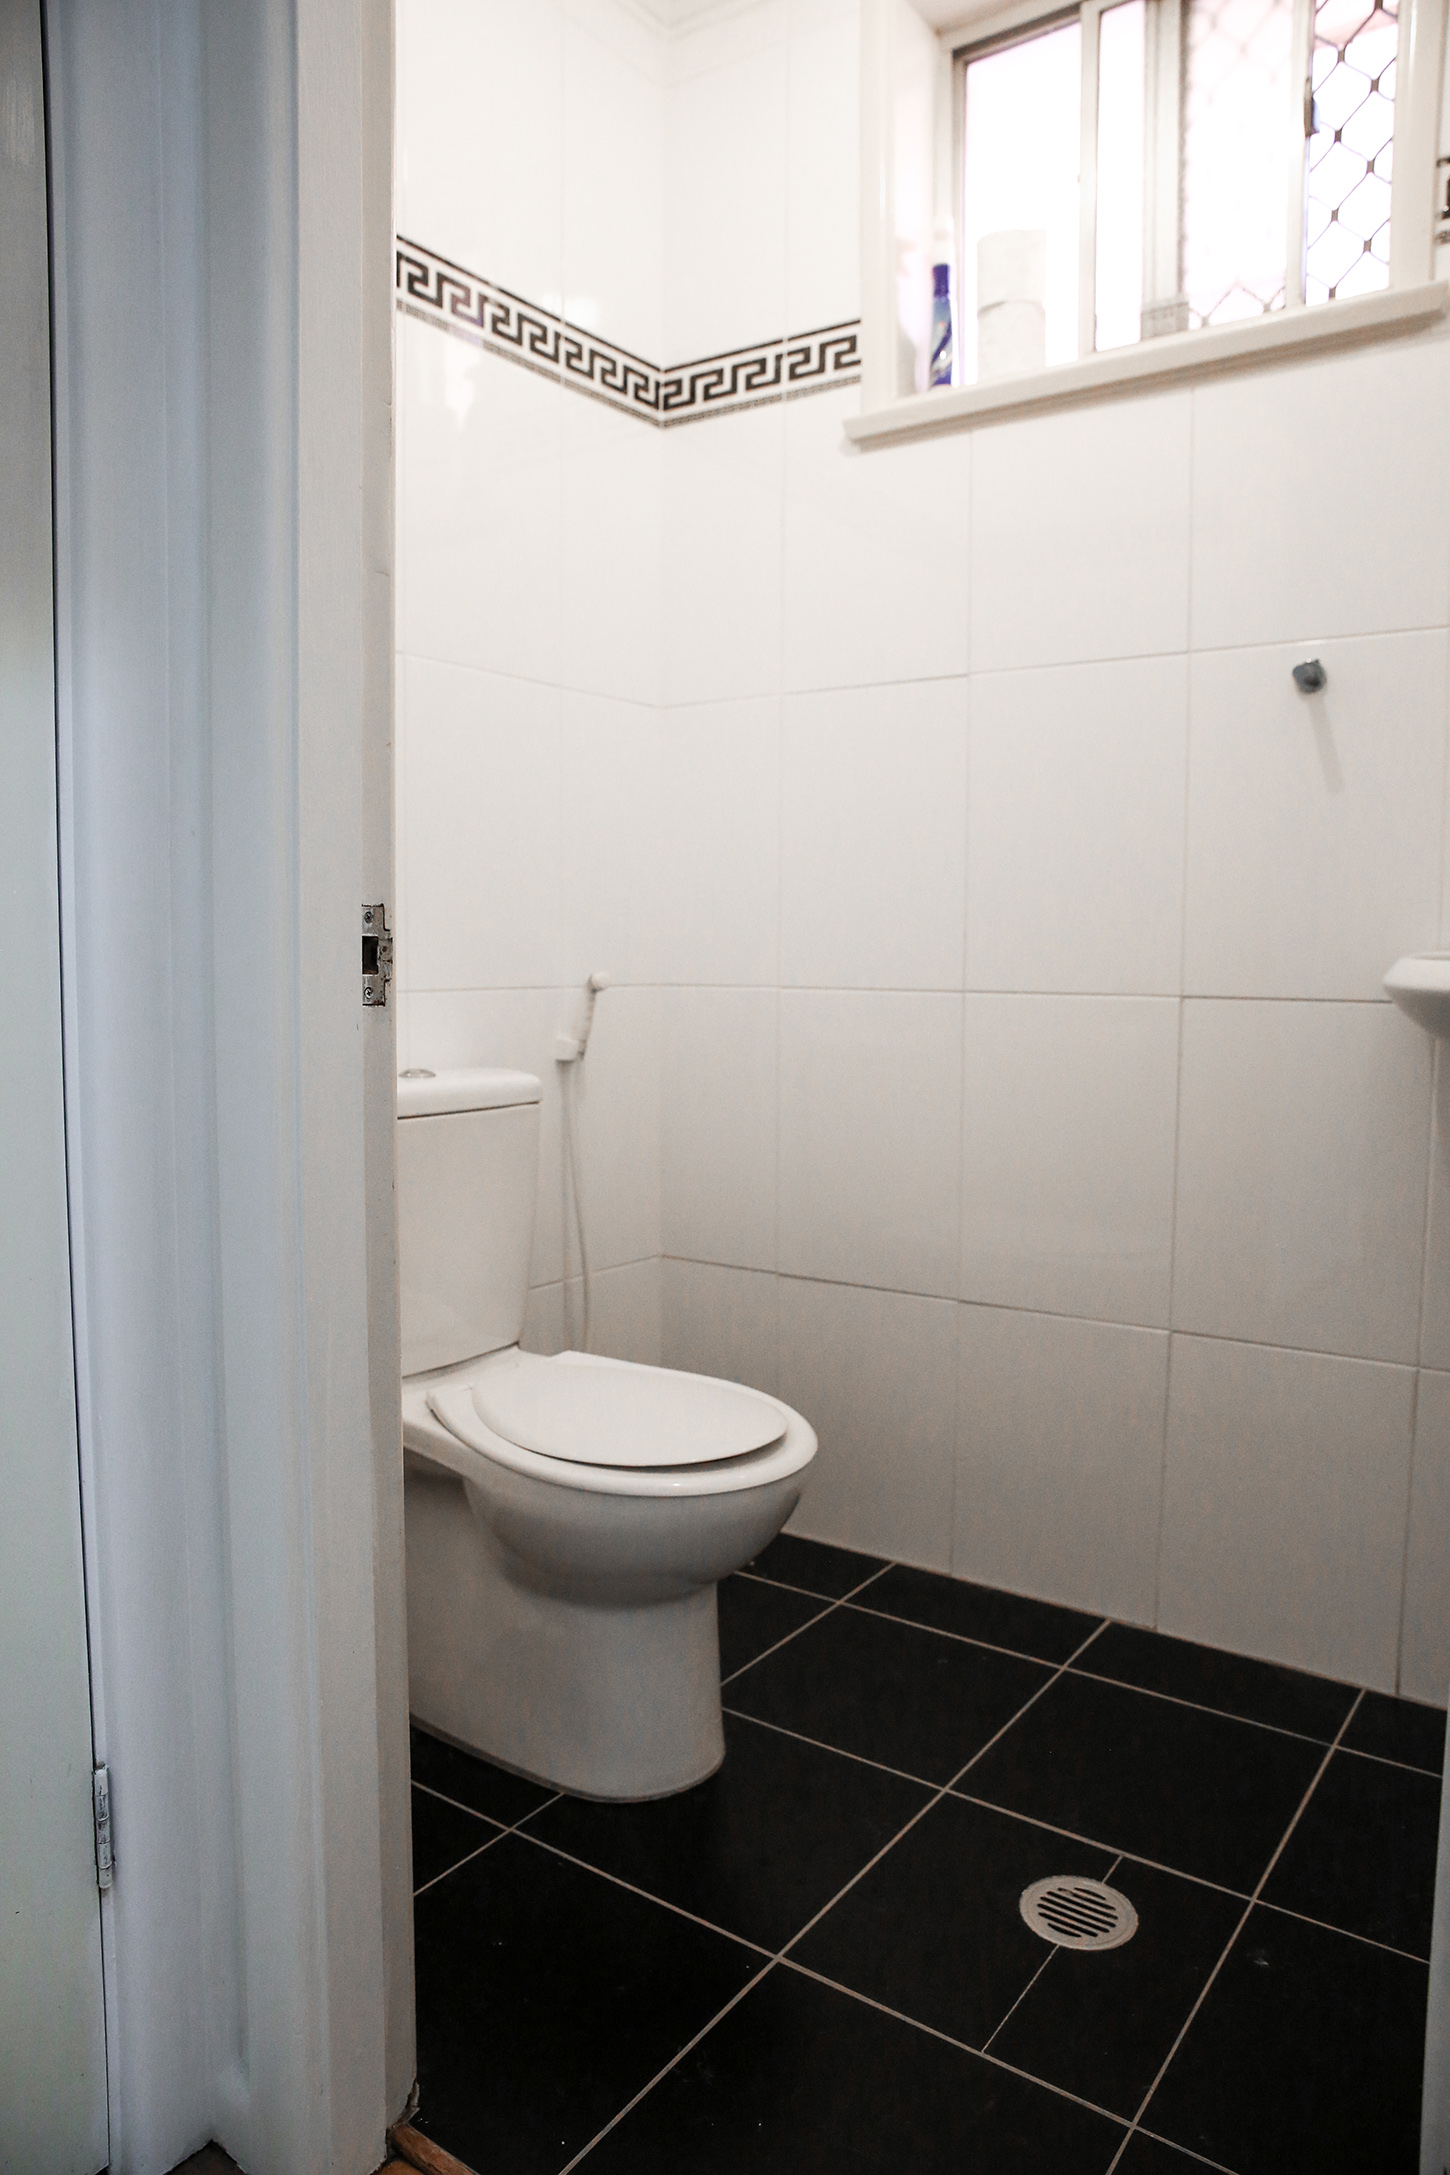
The other thing I’d say is, it’ll be a couple of weeks (minimum) before you’ll have a working toilet or shower once the renovations begin, so if you don’t have a second bathroom, you may want to think about staying with friends or family, or leasing some short-term accommodation. We were fortunate in that we have a separate toilet accessible from the backyard, and it was mere days before the renovation begun that we realised there was a shower attached to the wall in there (otherwise we probably would’ve used gym facilities nearby to shower).
So, let’s get into the full details of our bathroom renovation…
Choosing our Contractor
Aside from settling on the design, probably the most important part of any renovation project is choosing the right contractor. We probably spent a few weeks doing research, and got three different quotes before moving forward with the project. There’s a few things that I’d recommend taking into consideration; first, the overall cost of your renovation. The quotes that we received varied approximately $5K from the lower end to the top end and was one of the factors in guiding our final decision.
Secondly, what is the quality of their work like? I’ll admit, finding a contractor that seemed to have genuine images on their website was tricky. I’m a bit of a perfectionist and pay a lot of attention to detail, so we wanted to ensure that the contractor we chose for our bathroom renovation would carry out the project to a high standard. Especially with something like a bathroom, which is such a big part of your home, we were very open to spending in the top end of our budget, if it meant that the job would be done properly.
And it’s here that reviews are so important, and I definitely placed a lot of stock in these. You want someone who is reliable and arrives on time every day, who will return to fix up any niggling issues that you have, and who understands your vision. Communication is key, and sometimes, it’s worth going with your gut on this one.
We ended up hiring Luke’s Bathroom Renovations to complete our project, and they ticked all those boxes for us. They were efficient, always on time, worked weekends, paid particular attention to detail, and took on any feedback for adjustments throughout the bathroom renovation. Plus, I loved the fact that Luke had set up a social media presence (you can check out his Instagram here), so I could stay up-to-date with the renovation while working in the office. And ultimately, my husband and I loved how transparent he was with his work – it made us feel comfortable from the get-go, and set the bar for what we could expect for our own experience.
The Style: Fixtures & Fittings
As much as I would have loved to have gone for some petal pink tiles or brushed gold hardware, we opted to go for a more conservative style, to ensure that our bathroom had longevity. Trends come and go and can look dated pretty quickly, so just like my wardrobe, we opted to go for something classic.
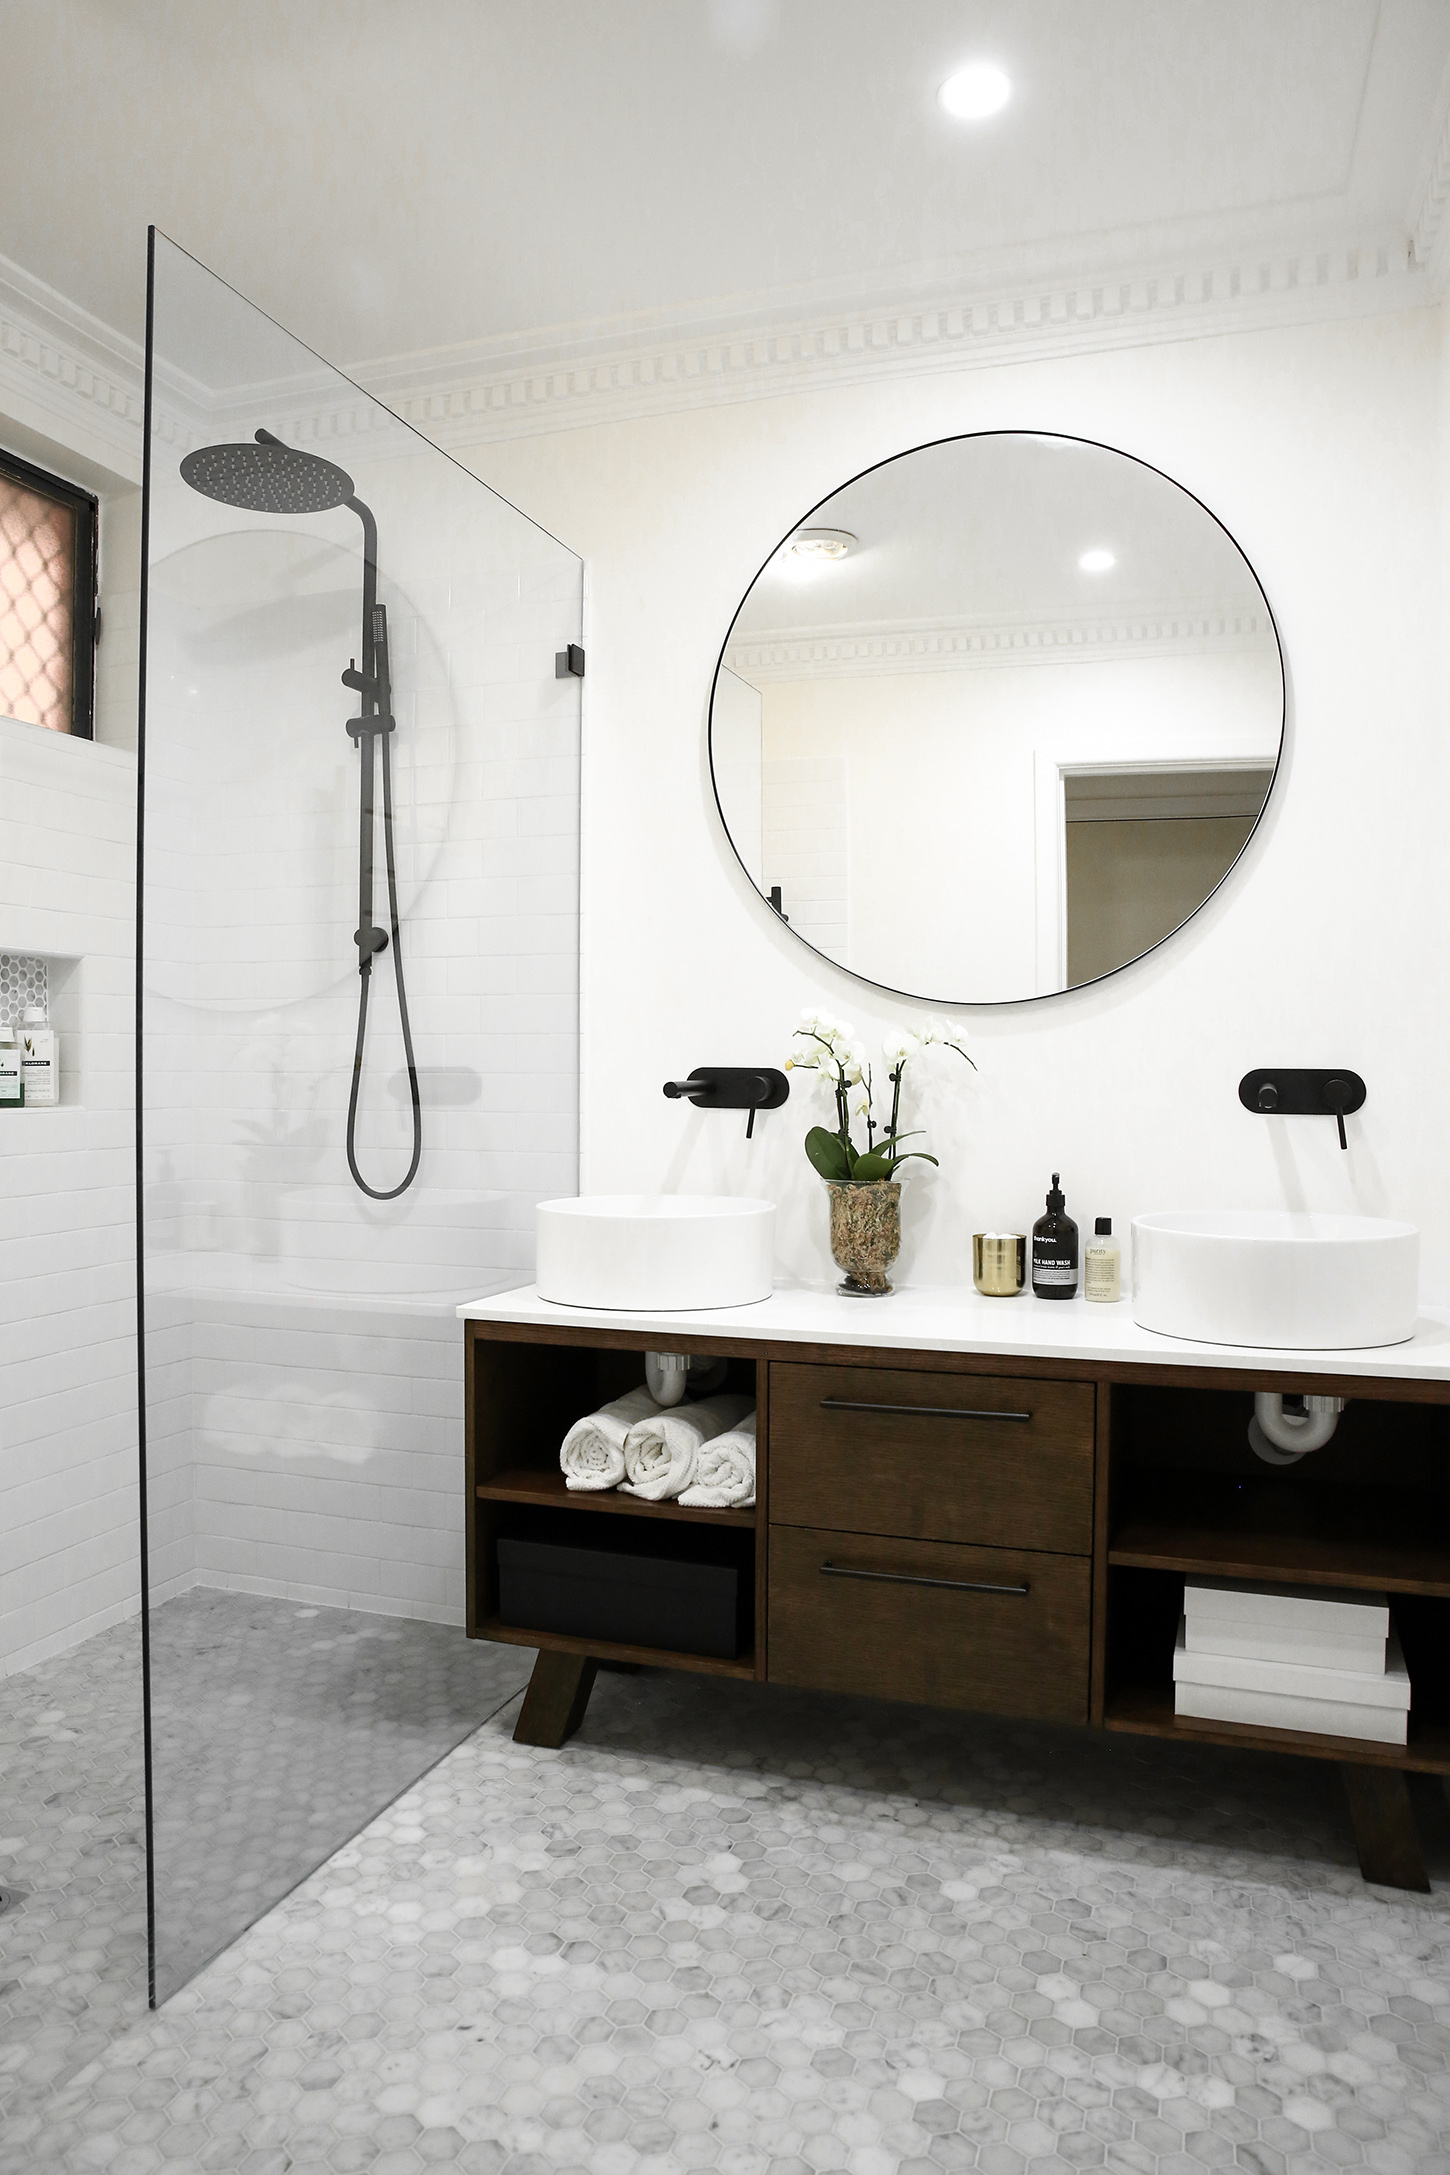
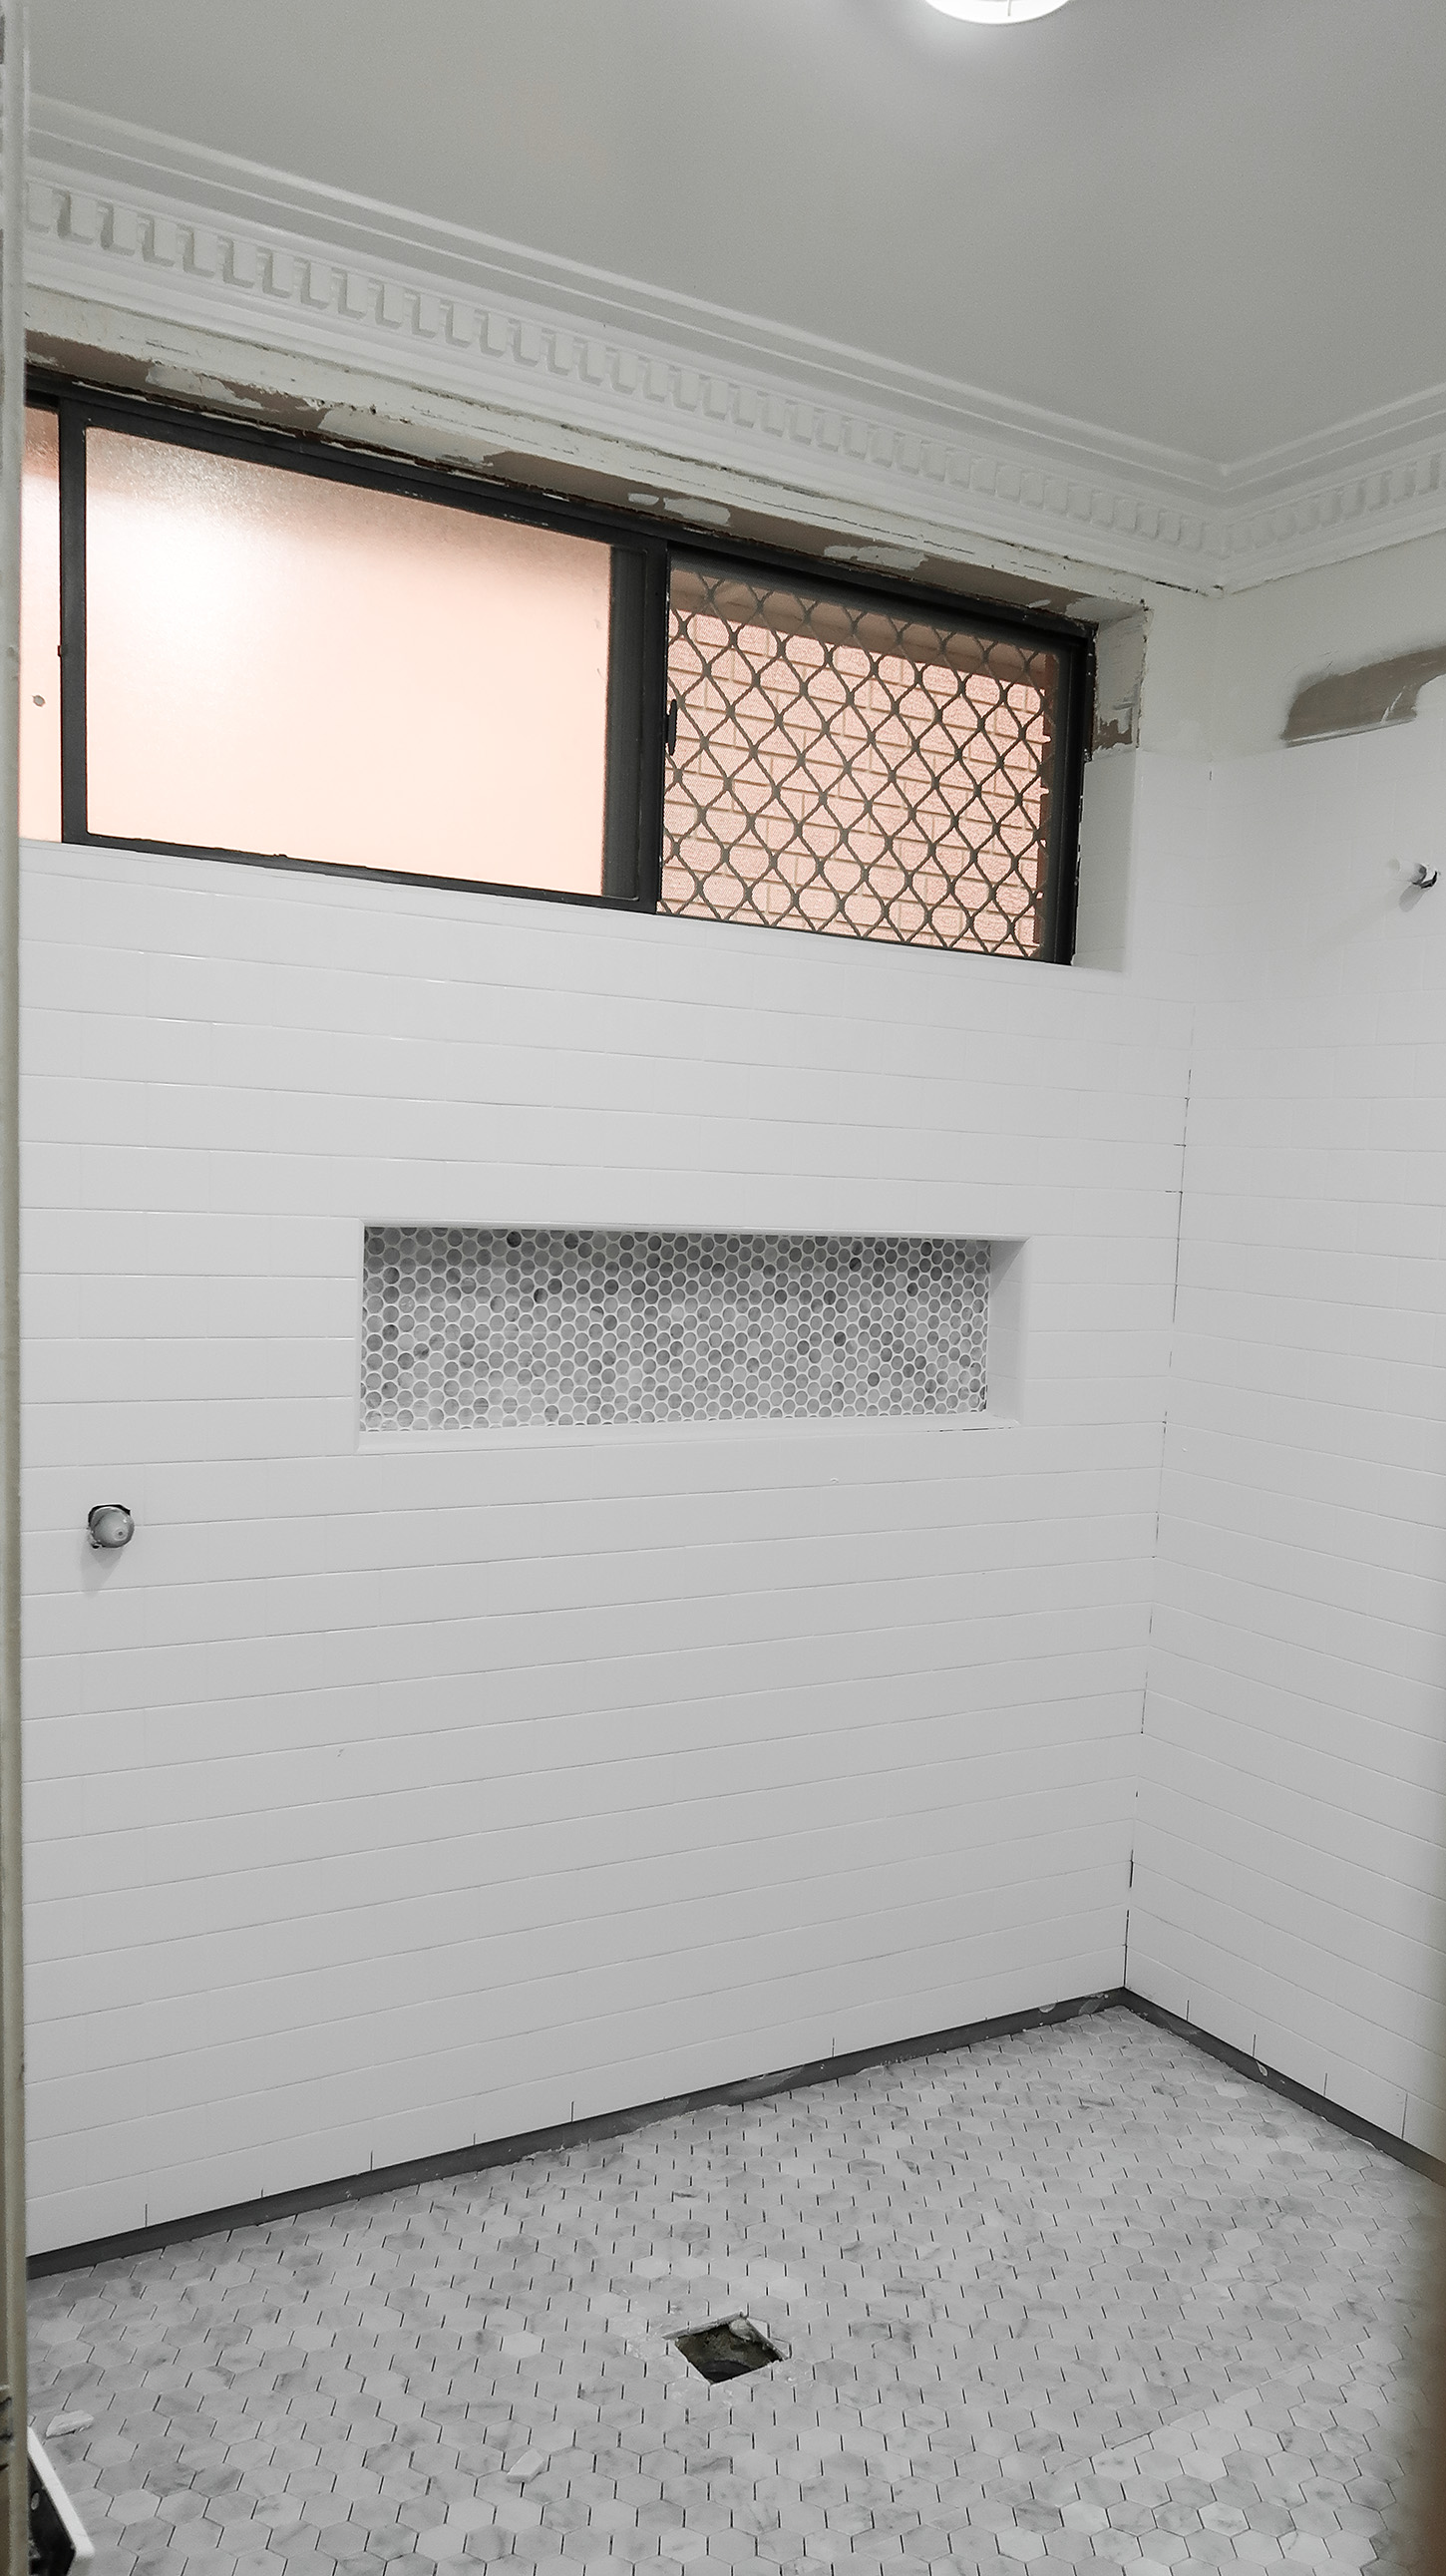
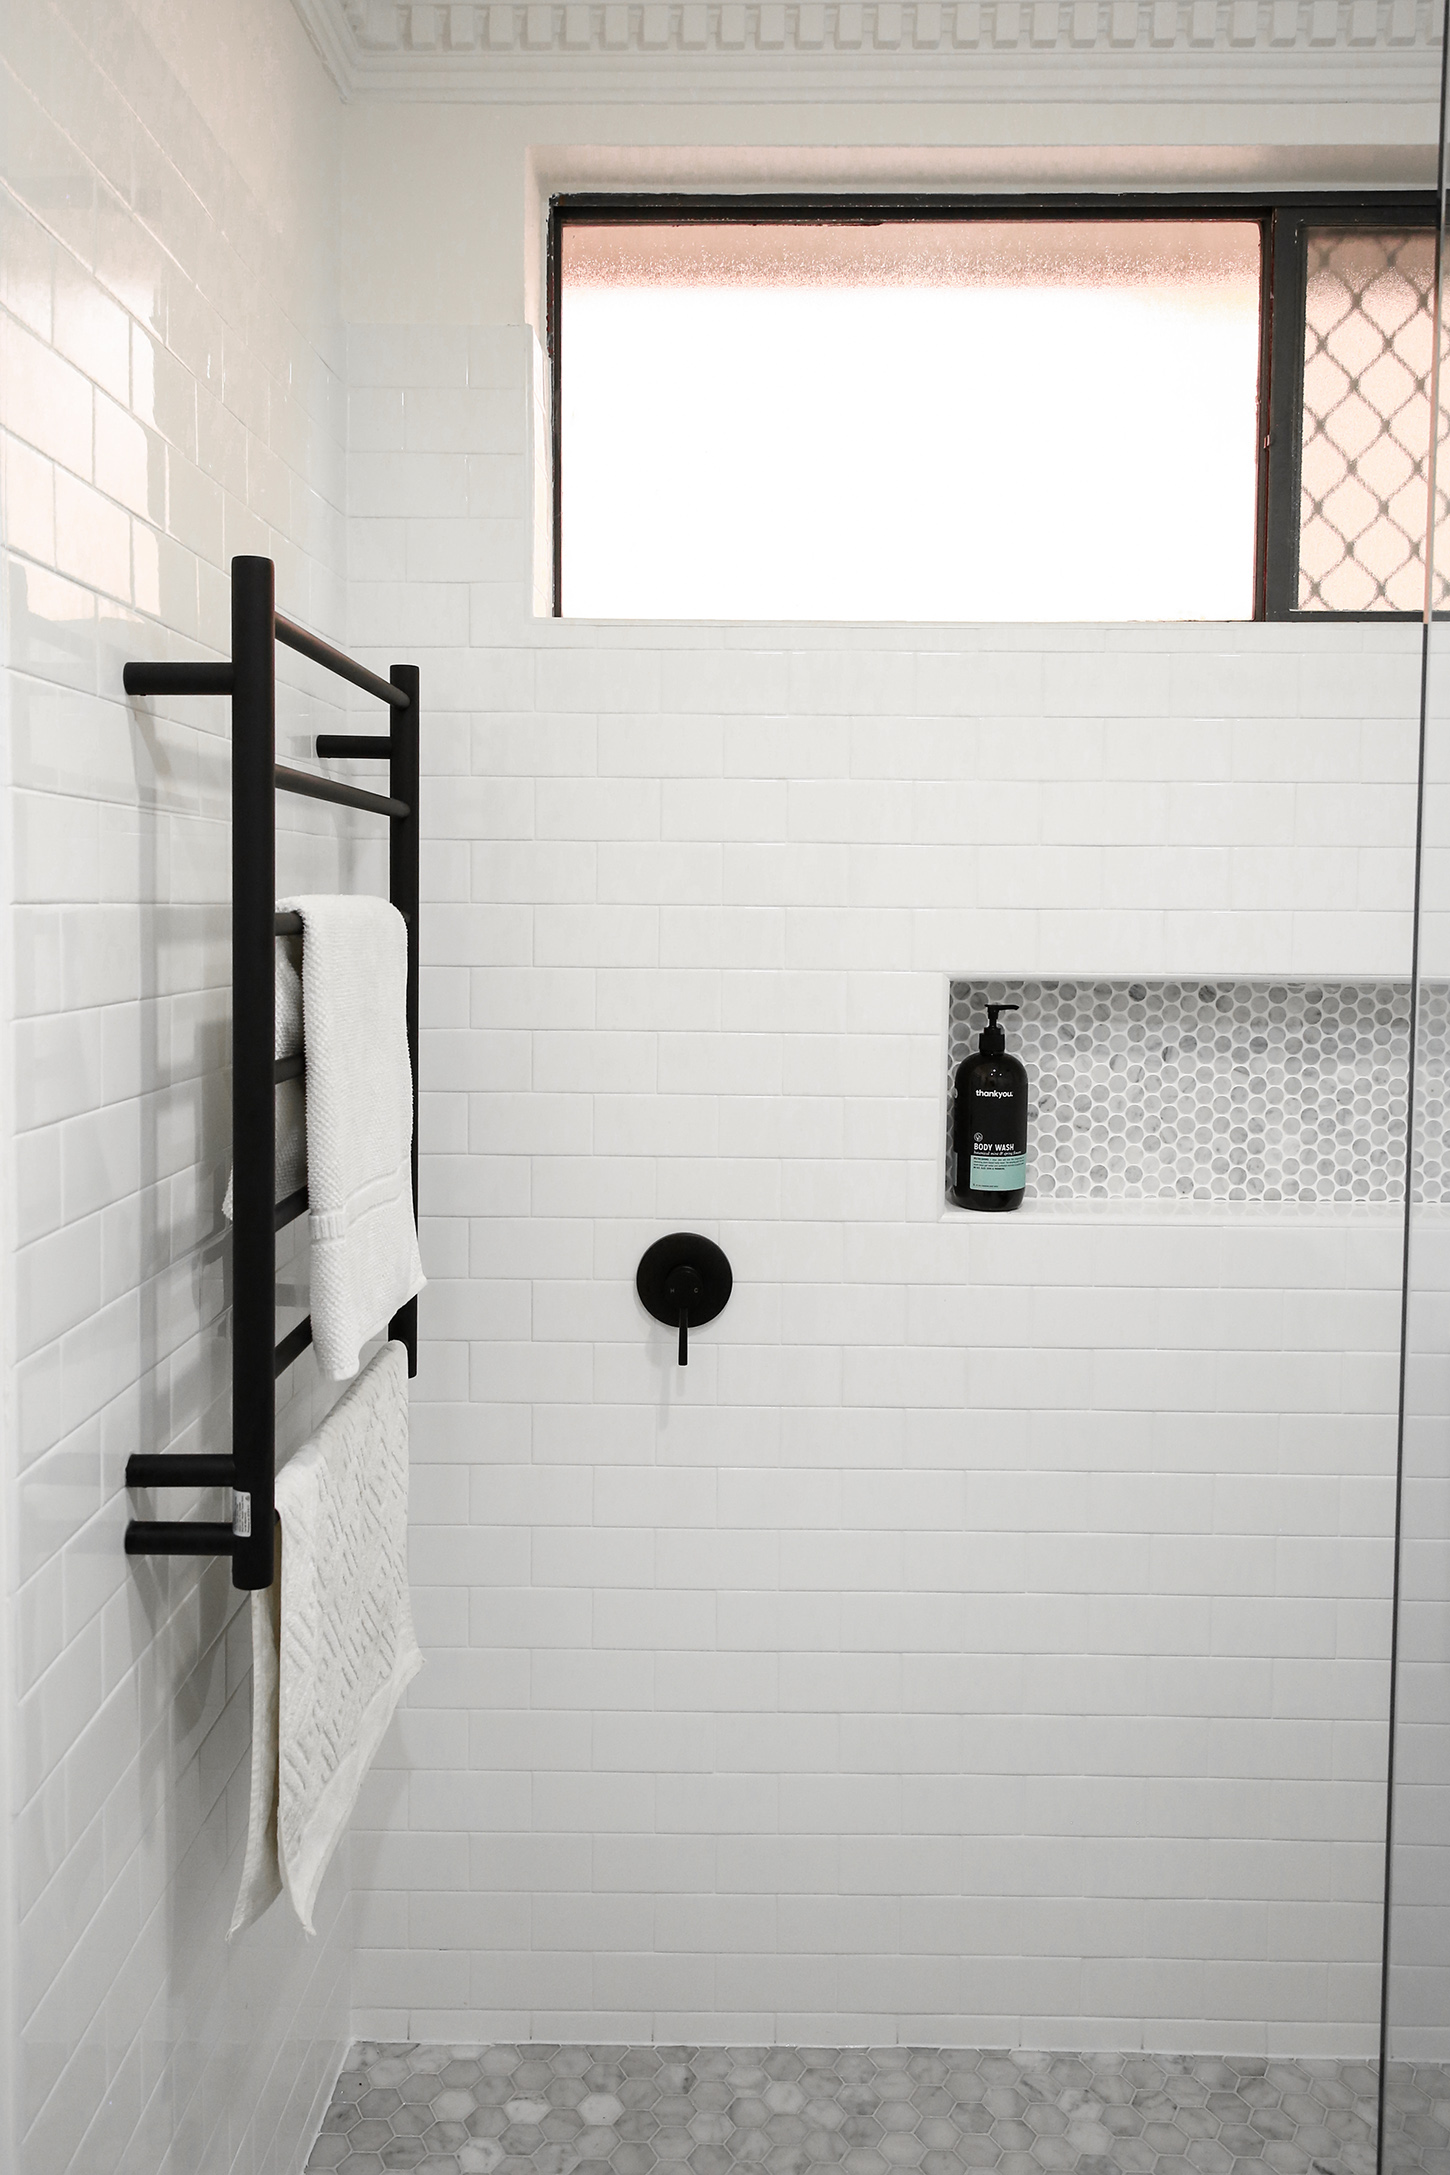
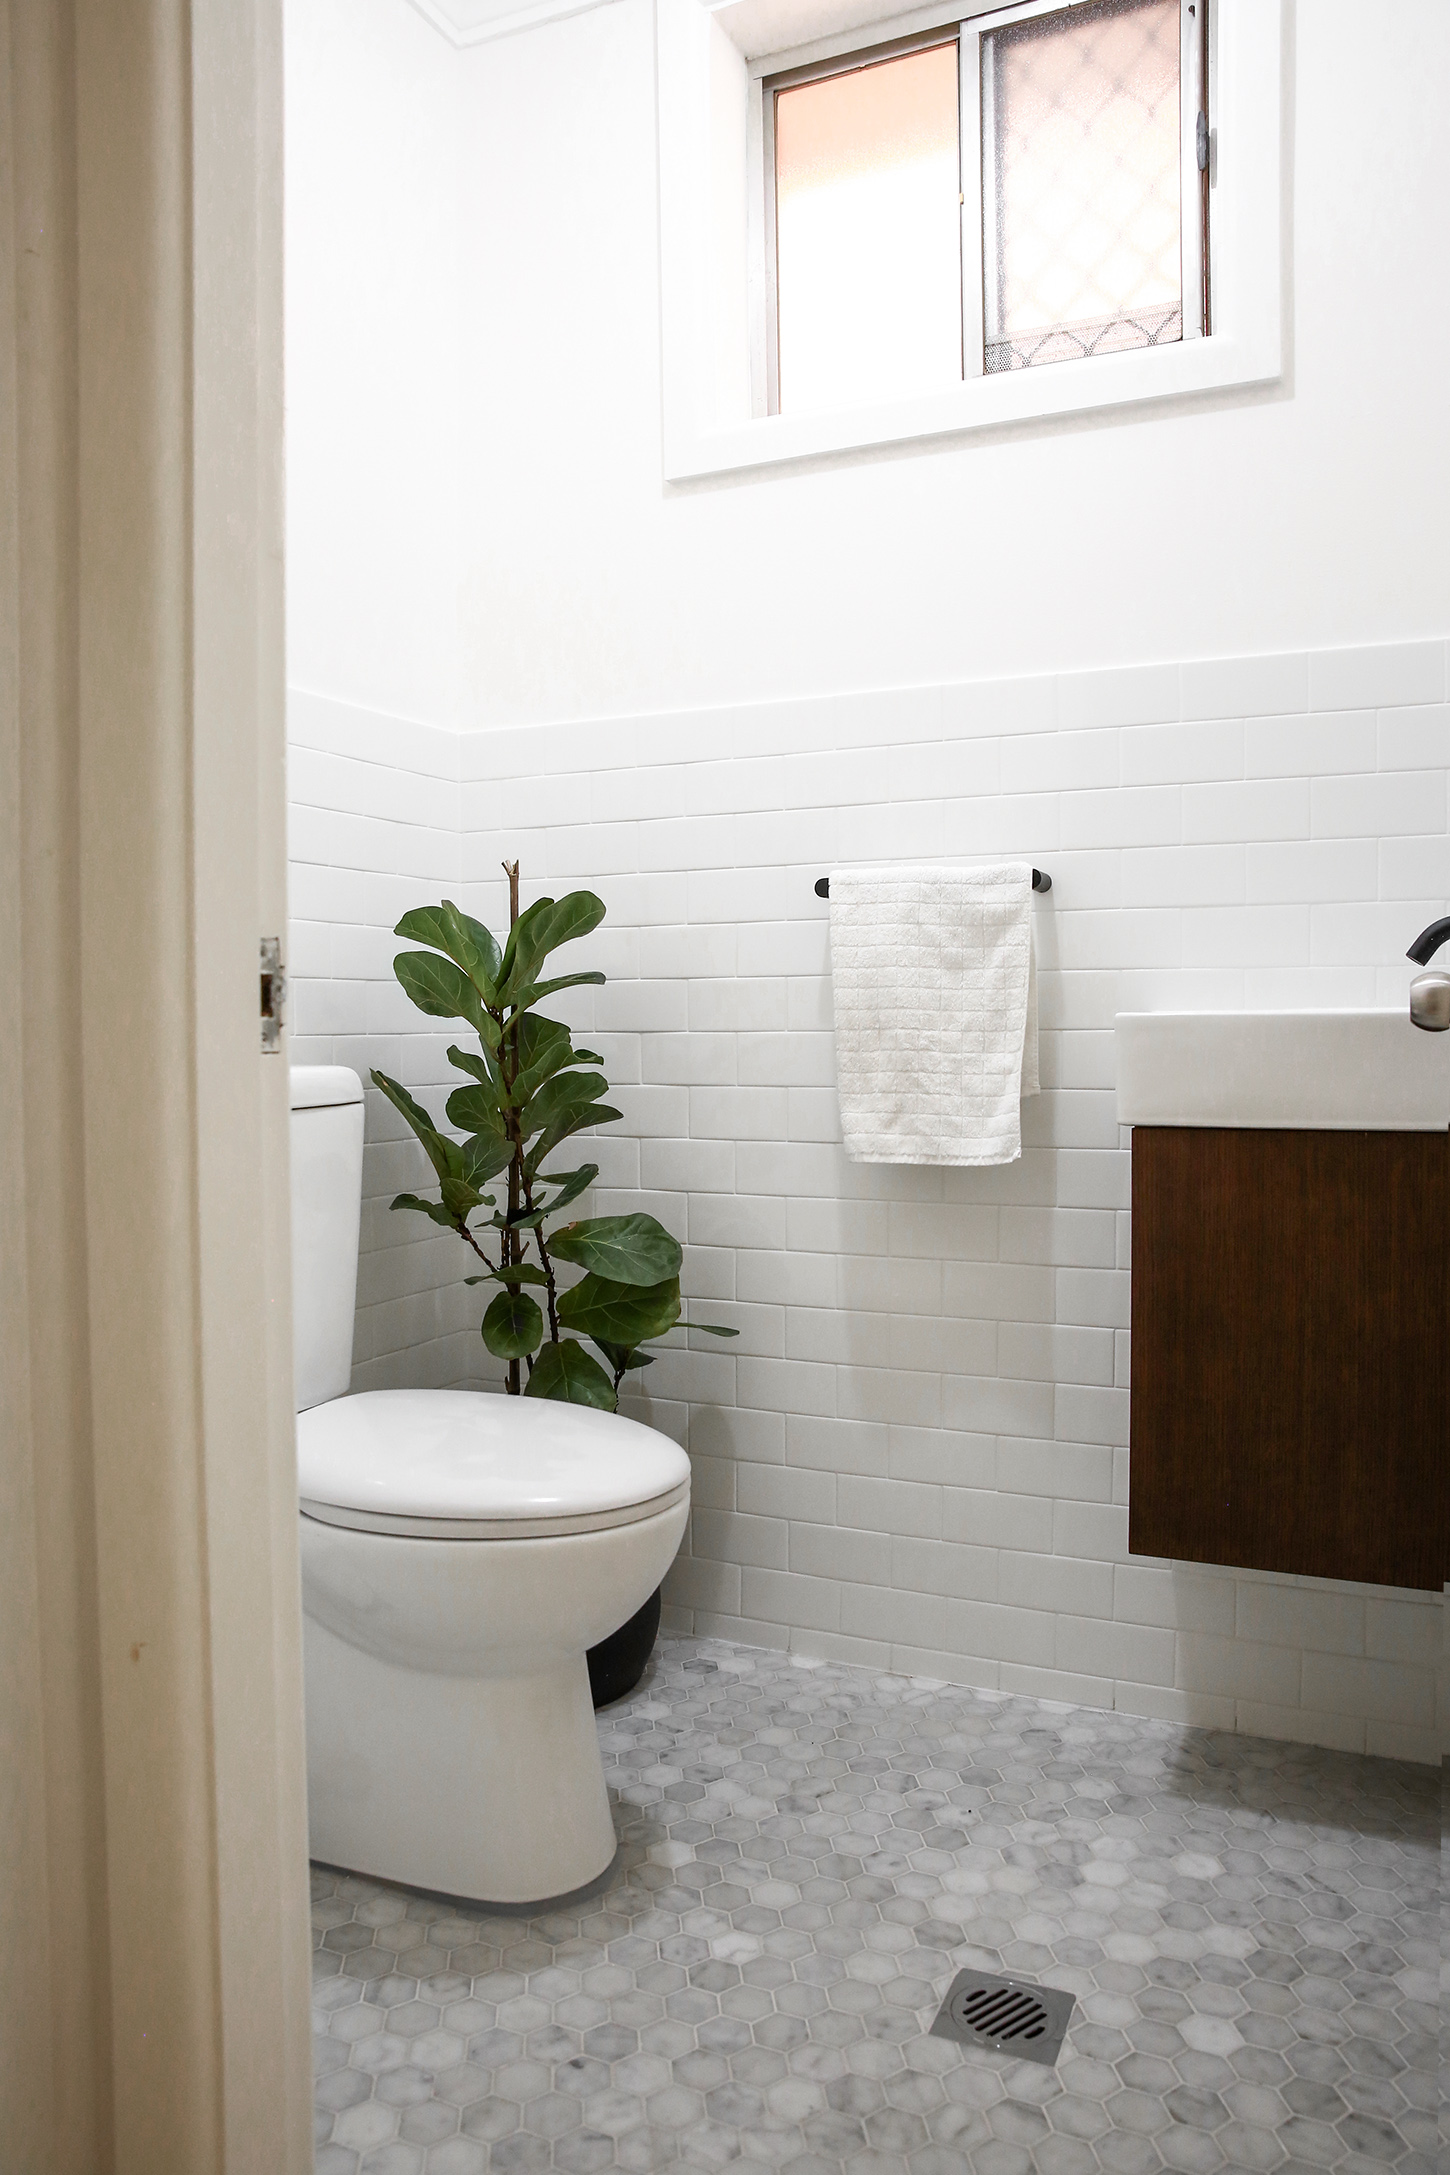
Thanks to a tip from a friend, we sourced our tiles from Tile Factory Outlet (TFO), and went for hexagonal carrara marble tiles for the floors, a 75×150 white subway tiles for the shower interior and walls of the toilet, and a carrara marble penny tile for a ‘feature’ in the wall niche.
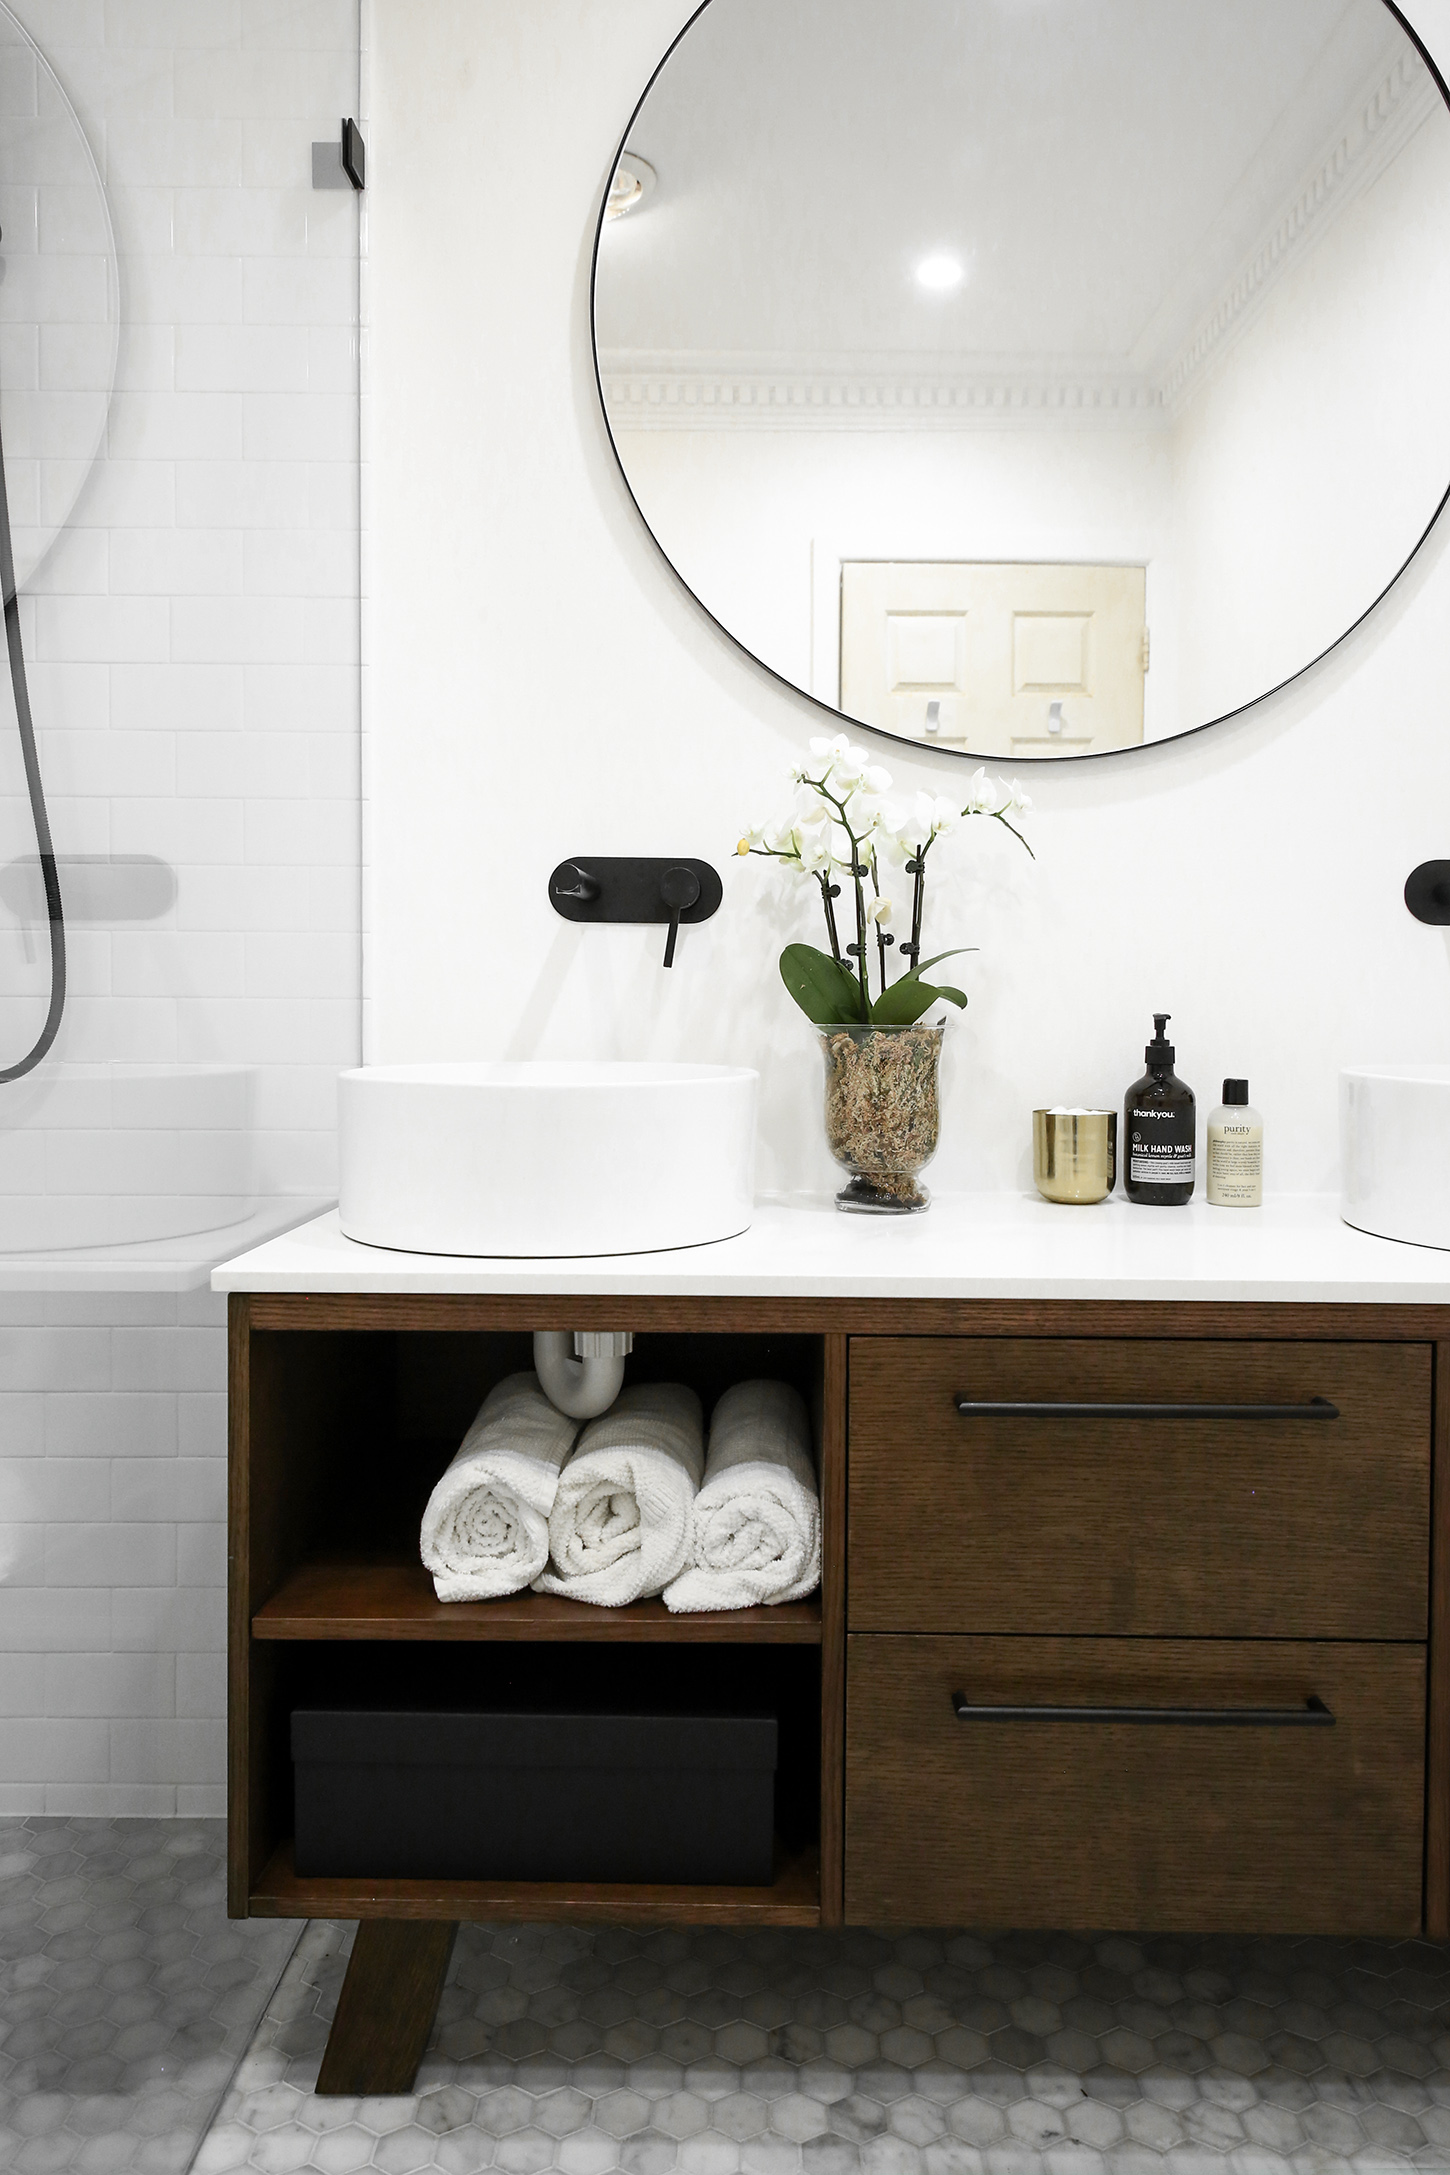
I probably spent a good couple of months researching vanities, and we finally stumbled across one that we both liked from Vanity By Design. We chose two models from their contemporary range; a double vanity for the bathroom, with large white sinks and exposed shelving, and a smaller wall hanging vanity to fit in the corner nook of the toilet or powder room. The dark mahogany wood set the vanity apart from anything else that we’d seen, and was a little reminiscent of the bathroom vanities at The Old Clare Hotel.
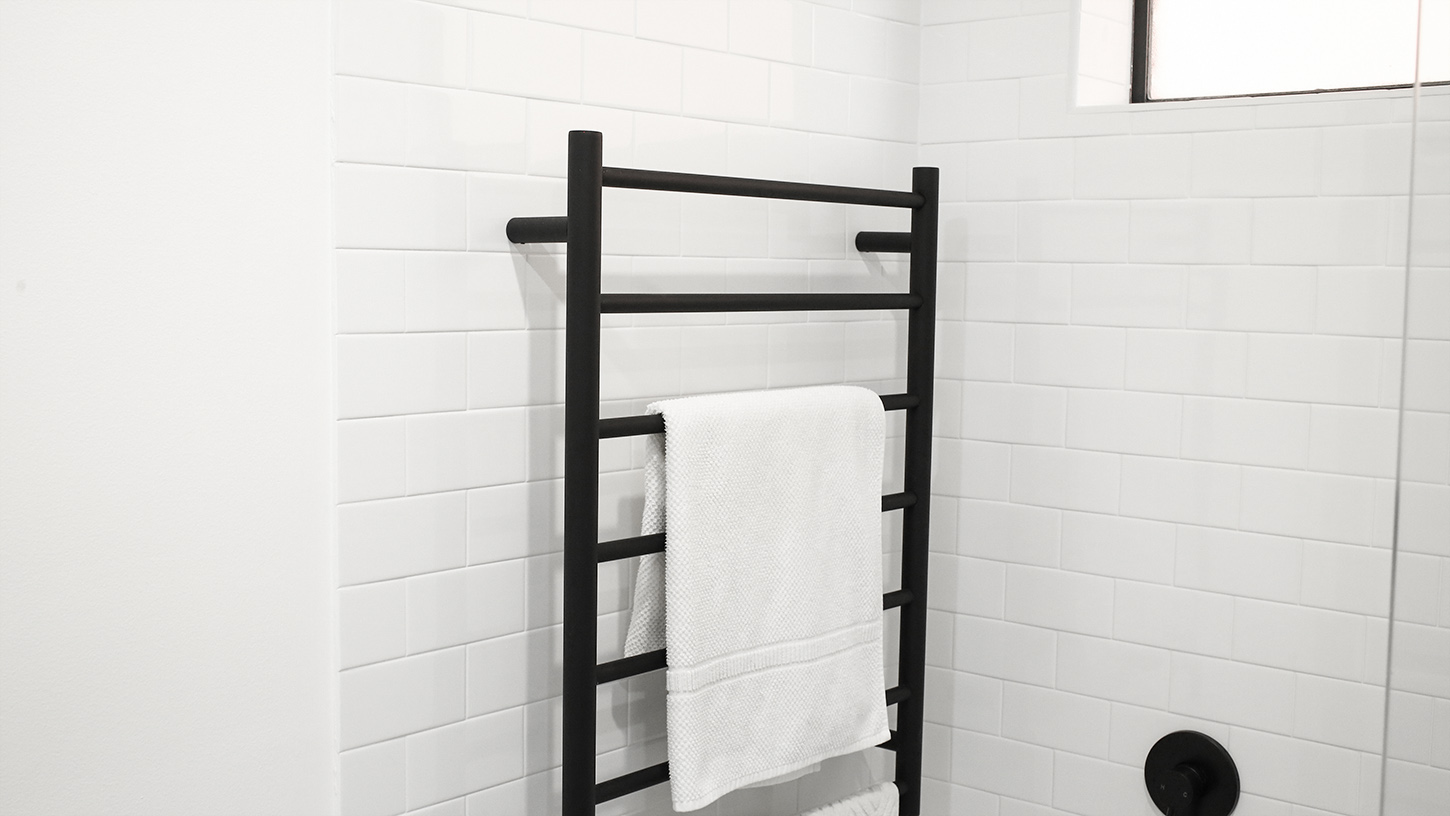
It took months of debate, but Luke and I finally both agreed to matte black fixtures for the bathroom renovation, despite his initial hesitation. And, I think they really pop against the contrast of the rest of the bathroom. I looked around at a few different places but in the end, we bought all our fittings – bar the towel rail, which Luke’s Bathroom Renovations sourced for us – from MyHomeware. Our toilet, we purchased from Reece; we just went with something simple and classic, though I do love the fact that the toilet seat has a soft close!
Inspired by this picture, we knew we wanted a large round mirror to sit above the vanity. I loved this concept because there are no hard edges, and I think it lends a softness to the space while still looking very modern and contemporary at the same time. Now looking back, I actually think we could have gone a little bit bigger with the size of the mirror we chose, though it was difficult trying to source a round mirror with matt black trim, that was 100cm or larger and didn’t break the bank. I managed to snap ours up from Zanui during one of their sales, and we’re really pleased with how it turned out.
Probably the hardest thing to track down was a light fixture for the toilet which wasn’t an oyster-style fitting. We have a few of those in the house – all of which I’m very keen to update with something more modern – and I find that they look a little bit dated. Our ceilings are very high, so finding a good compromise was tricking, but I finally settled on this one from Matt Black. I loved the fact that it had black hardware, so it tied in really nicely with the rest of the bathroom elements.
The Bathroom Renovation: From Start to Finish
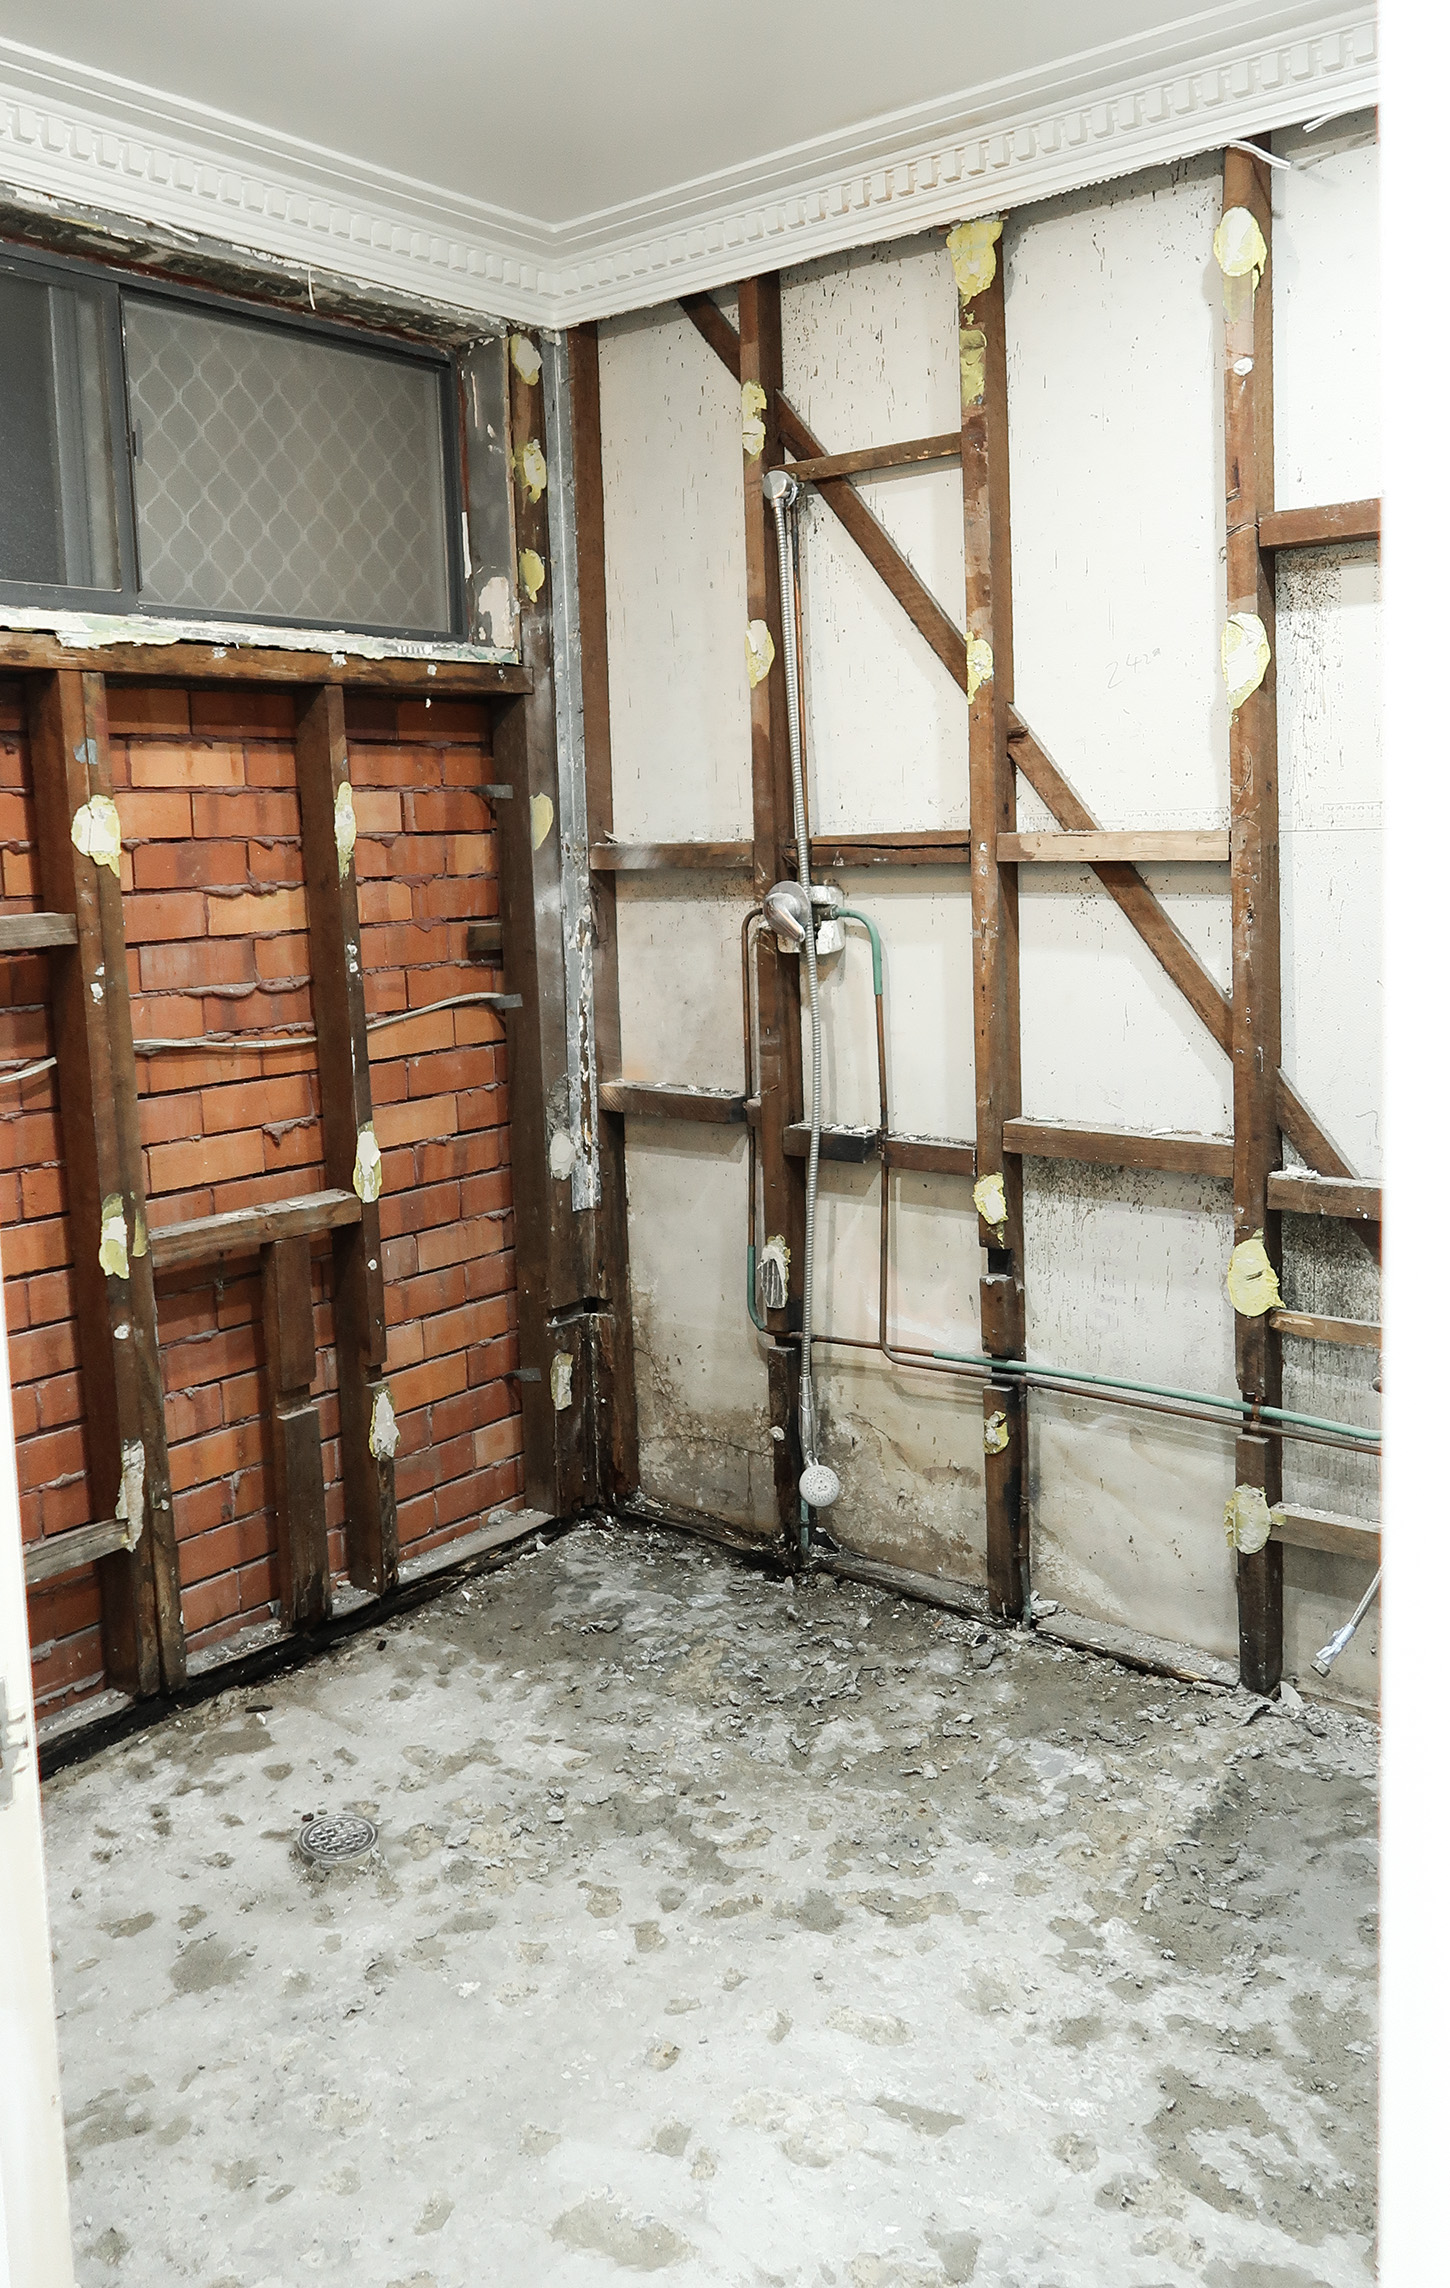
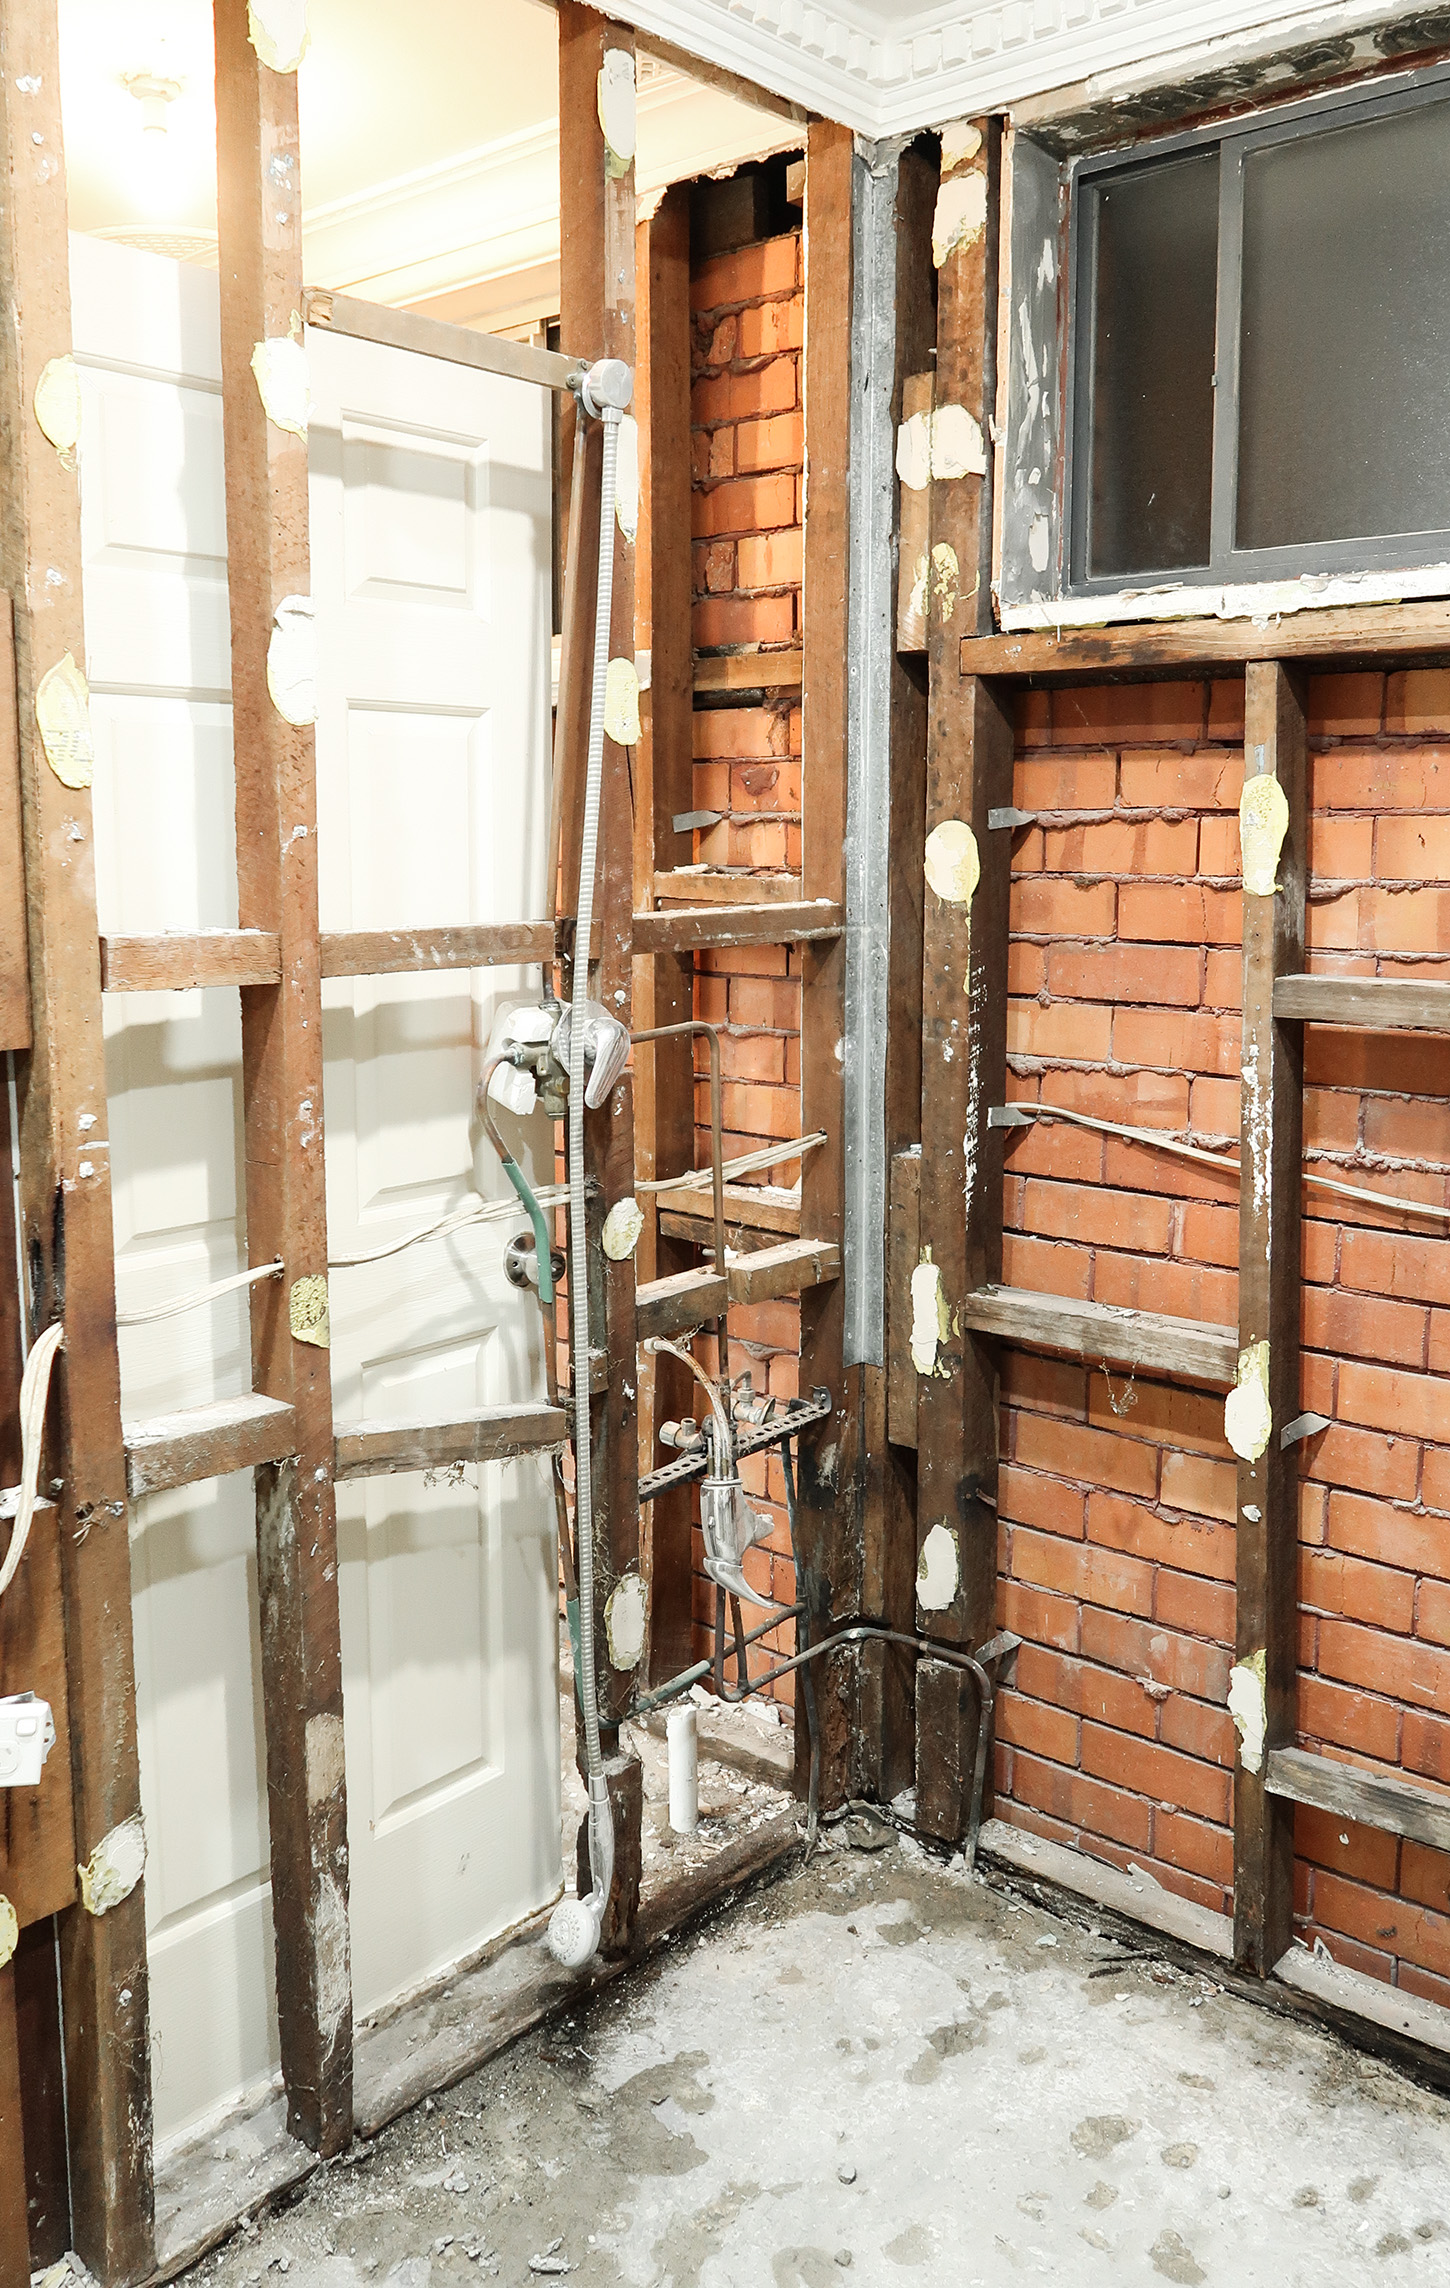
Work on our bathroom renovation started on Wednesday 19 October, and all up, it took three weeks for the bathroom to be complete, and a further week for the glass shower frame to be measured, built to spec and fitted. The process involved stripping all the contents of our existing bathroom, roughing in the plumbing and electrics, replacing some structural beams (more on this soon…), levelling the floor and waterproofing, screeding the floor and laying the tiles, fitting the vanity, toilet and fixtures, and finally… painting the walls and setting the shower screen in place.
One of the risks with older houses, is that you never know what you’re going to find once it’s all stripped back. Truthfully, our biggest concern was that there might be asbestos in the walls – something that we’d learnt was common in many homes in NSW. And given that the bathroom wasn’t watertight, we also figured that there might be a bit of damage to the wood or slab underneath. Turned out, that the water had soaked through and quite severely rotted some of the studs, which needed to be replaced (and of course, this was an additional out of pocket expense – good thing we’d saved up a buffer in advance!).
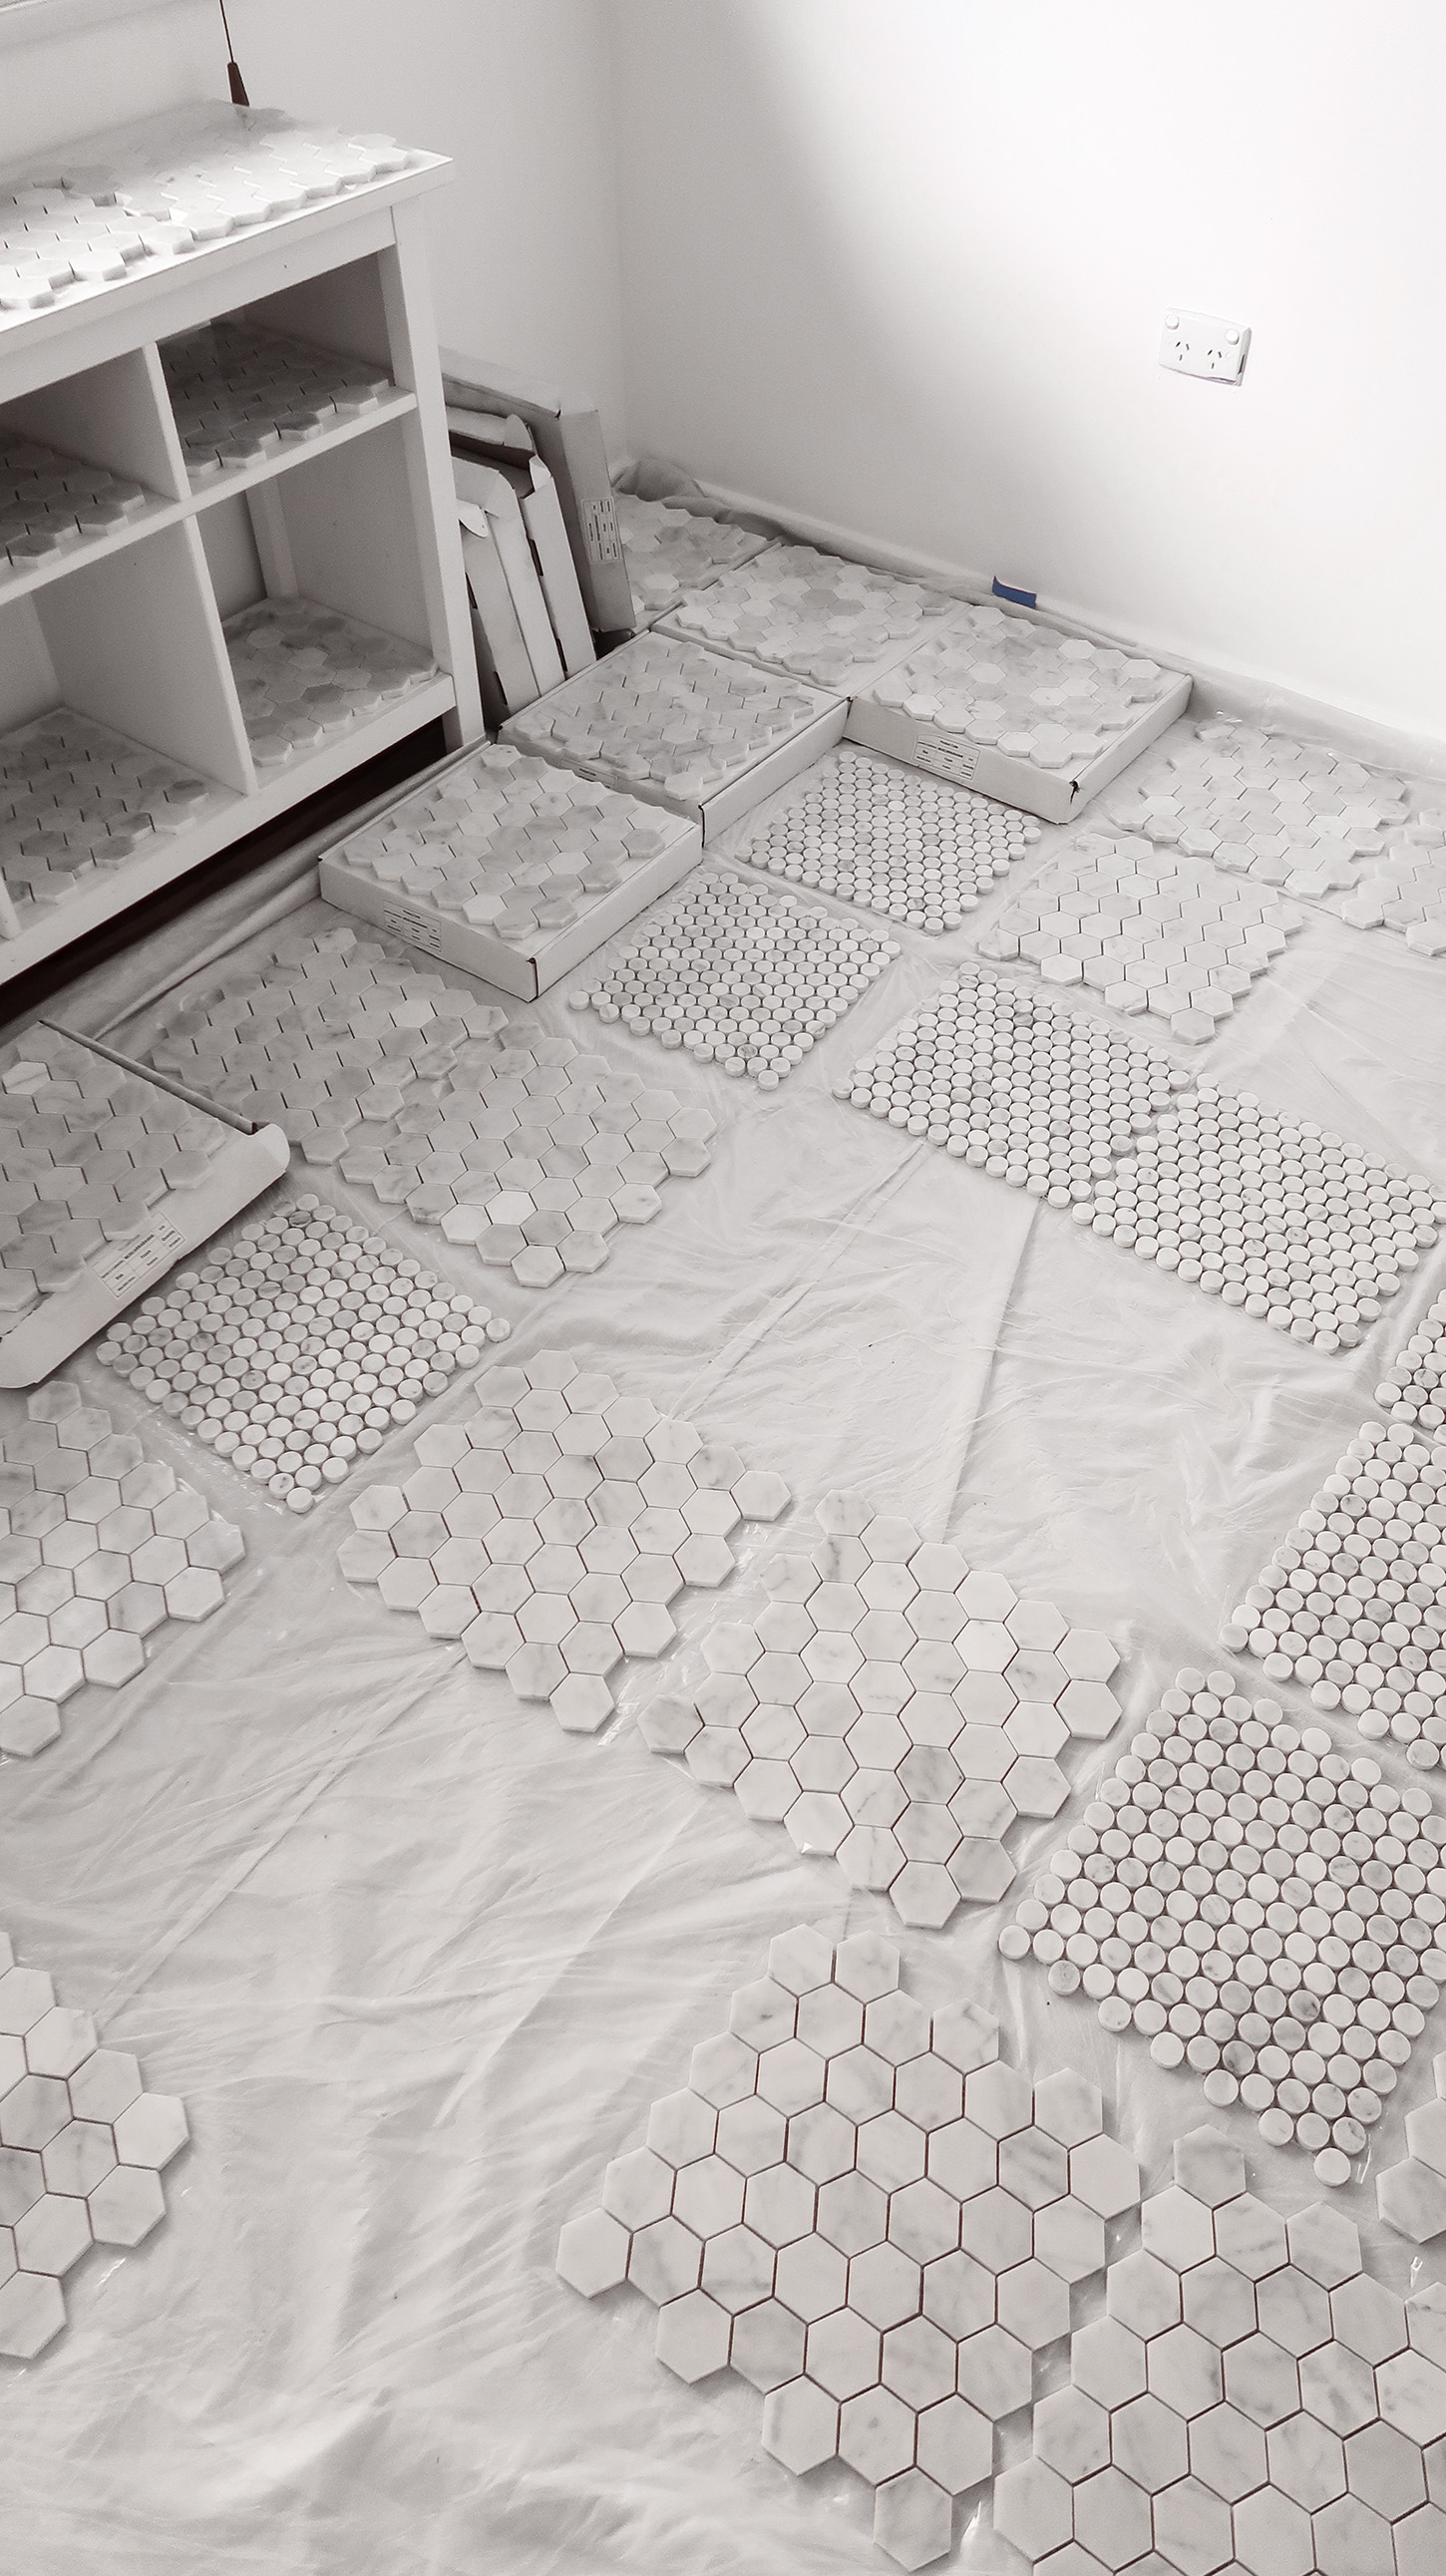
The other thing that I hadn’t anticipated with marble tiling, is that they need to be sealed before a tiler lays them. We purchased a sealant from Bunnings, and spent the week prior to the renovation beginning slowly sealing each tile one by one in our spare bedroom. Because we didn’t want out pets going near the tiles, we were limited to our two spare bedrooms (one of which is fully furnished), so had to do this in stages. It took us the better part of a week to seal all the tiles, plus the overage.
The Full Reveal
So here’s a good look at our finished bathroom renovation, and I have to say, I’m really pleased with how our bathroom renovation turned out. We opted to keep the layout as is rather than combine the two bathroom spaces, as at this stage, we really only have one bathroom in the house. This means that someone can be in the toilet while another person has a shower, or vice versa, and we liked being able to have that flexibility.
One of my favourite features of our bathroom has to be the feature wall niche, which has been a great addition for storing all of our bathing products and haircare, plus I love the fact that it breaks up the subway tiling a little bit. Instead of an enclosed shower space, we decided to go for more of a ‘wet room’ look, with just a simple shower screen so that you could walk right in. The mixer is on the wall as you enter the shower space, which is great as you don’t get pelted with cold water as you’re turning on the shower! Another must for me was the heated towel rail. This was a luxury that I had in my second home growing up, and I figured if there was ever a time to be a little extra with our choices, it would be with that. I got my fair share of recommendations from friends who suggested we install a tub (to childproof the space for when we start a family!), but in the end, we chose not to. Personally, I loathe shower curtains, and we figured we would be able to come up with a work around when the time comes – with any luck, we’ll have a second bathroom with a tub by then!
We kept the same configuration for the toilet (powder room) too; it just worked, but it needed a bit of a refresh. I didn’t love the previous vanity because it was so awkward, that I’d usually wash my hands in the bathroom, so it’s great to have something that is compact but also functional in that space now.
Our house has been a little labour of love, and to see our previous bathroom transformed into the sleek, modern feeling space it is now, has been nothing short of amazing. We’ve got a few more renovations up our sleeves that we would love to cover off in the next 12 months, including building a new deck outside (which Luke has already gotten a start on), giving our kitchen a much-needed refresh, and adding a couple of large opening skylights to the kitchen and living spaces to bring a bit more light into our home.
If you’d like to get a full look at the bathroom and see the process from start to finish, I did actually vlog this one! You can watch the full bathroom renovation below.


Ooh it looks so good!! So luxurious! Gotta love that being non-watertight made you able to update the bathroom earlier than you would have originally
https://www.closet-fashionista.com/
Such a nice transformation, nice setup. Beautiful black and white color combination.
Author
Thanks Jilli! We’re so pleased with the job that Luke and his team did 🙂
How have you found water splashes effect the matte black finish of the fixtures in your bathroom? I’ve found matte fixtures can sometimes be more of a pain to keep looking sharp than shiny or brushed finishes.
Author
Hey Nicole, I haven’t really noticed that at all with ours. It’s almost a sueded matte so it has a slightly textured look to it. Ultimately, we’ve been really pleased with how they turned out! 🙂
Thank you for writing such a fabulous blog on a bathroom renovation. I just loved the way you presented. Your bathroom looks so luxurious! Even I got my bathroom renovated a few weeks ago, and it looks so stylish
I must say that the way you have described the complete bathroom renovation journey has helped me in clearly visualizing how it must have felt for you. The space not only looks stylish, but the attention to detail also gives a really classy vibe. The fact that you had looked for sturdiness and durability more than the style made me appreciate your choice even more.
Good job
The honeycomb tiles look so fab! are they anti-skid?
Author
Thanks! As far as I know I don’t think they are.
This is a cracking project, love the walk through, very insightful for people who have never been through the process, even for those who have had an installation also!
Wow, your bathroom renovation is absolutely stunning! The before and after photos showcase the incredible transformation. I’m inspired by the modern and stylish design choices. Great job!